A recurring theme of this journal is going to be a comment our inspector made concerning the previous owners of our house: “they had a lot of start in them, but not a lot of finish.”
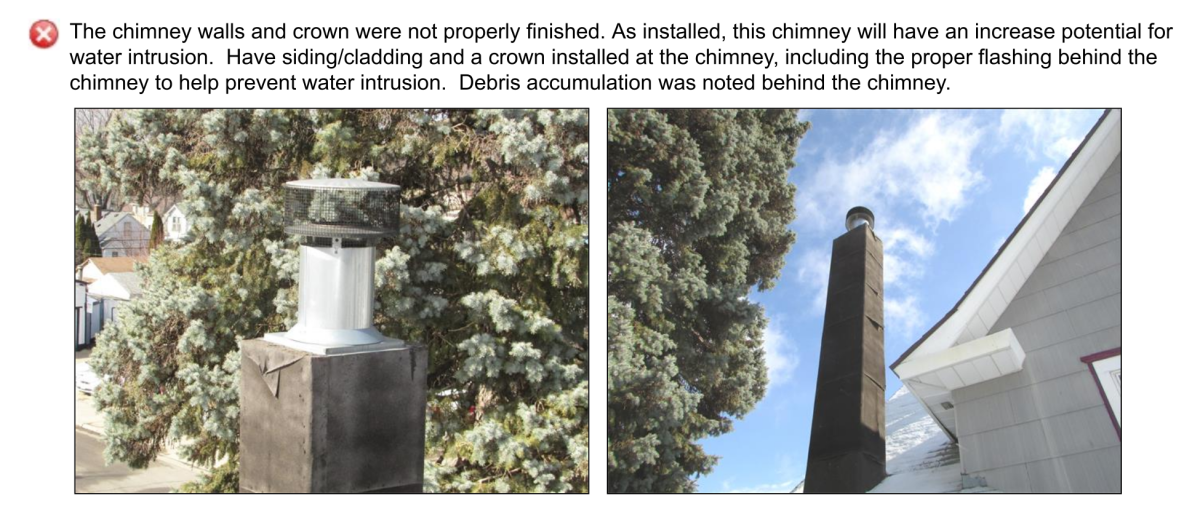
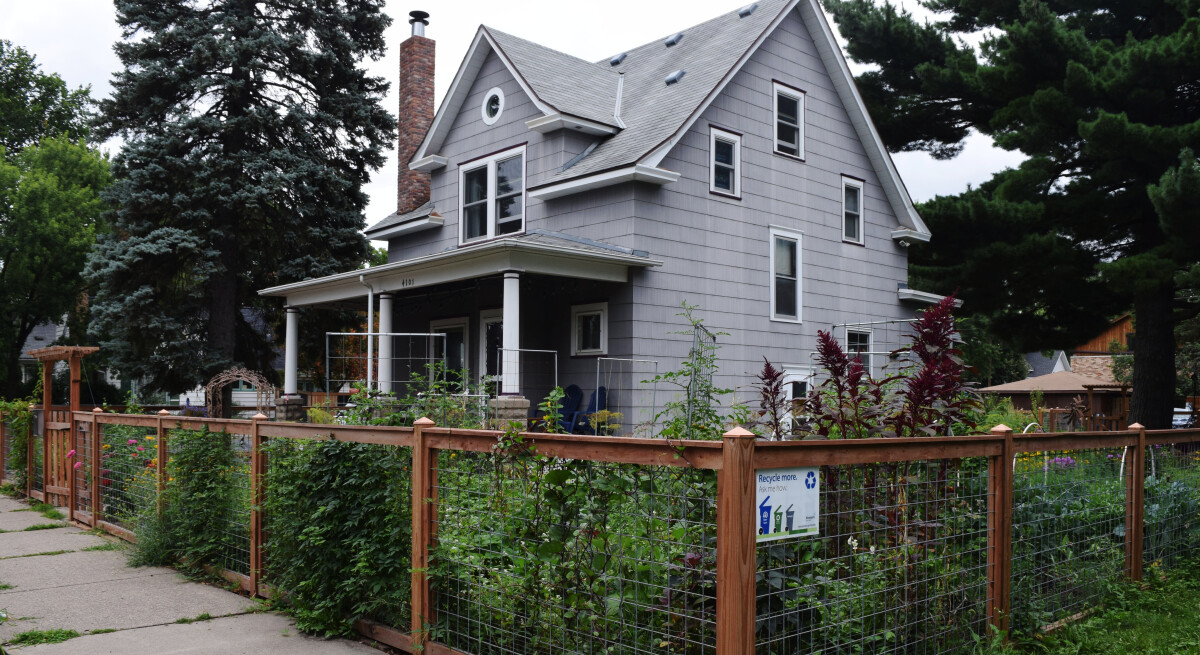
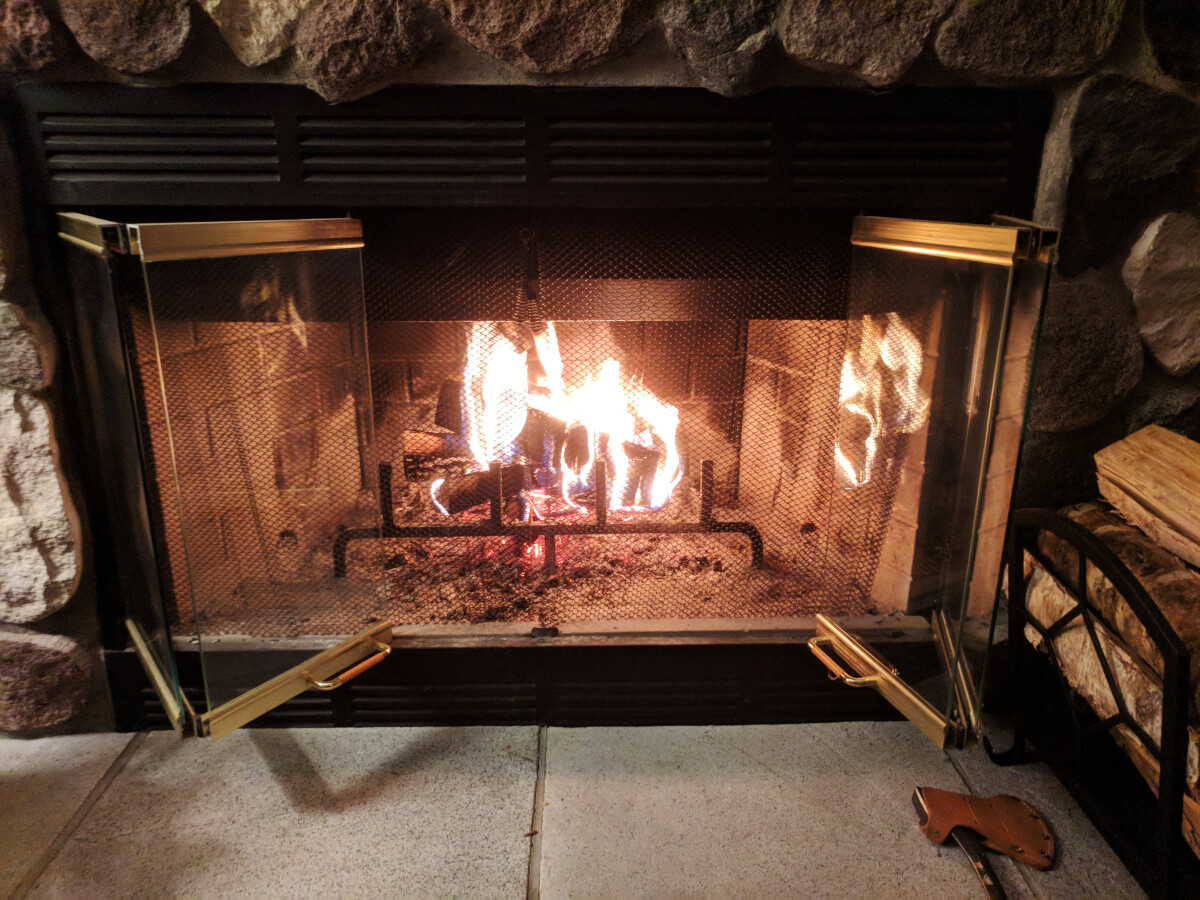
One of the many partially-completed projects we inherited when we bought the house was the fireplace and chimney. The previous owners had installed a nice new fireplace and judging by the soot buildup, they had enjoyed it frequently. One problem: they never finished the chimney.
Shoutout to Structure Tech for their great inspection work.
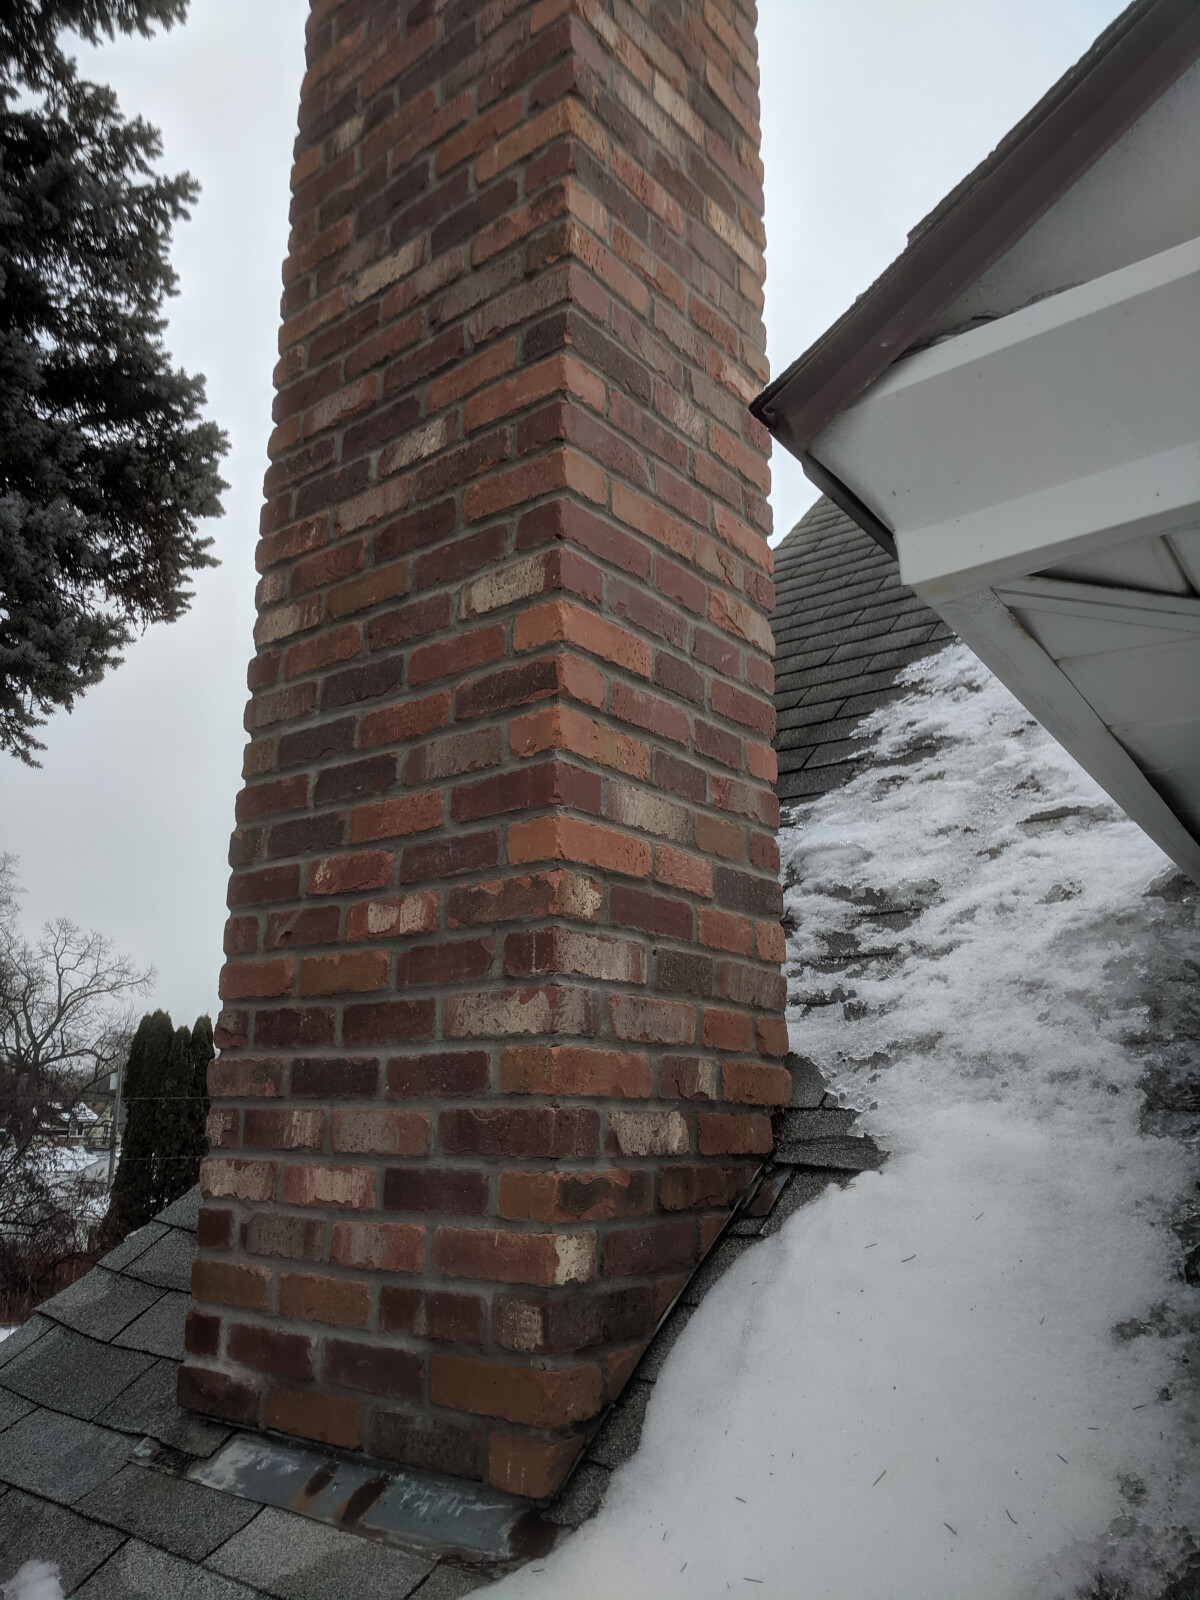
This being a fancy new fireplace, the exhaust vents through a double- or triple-walled aluminum stovepipe rather than a traditional opening. The actual chimney part is just for structure and looks. It’s wood framing clad with plywood and tar paper and finished with something weatherproof and decorative. Only the previous owners never made it to “finished” and just left it at plywood and tar paper instead.
This looked pretty bad, obviously.
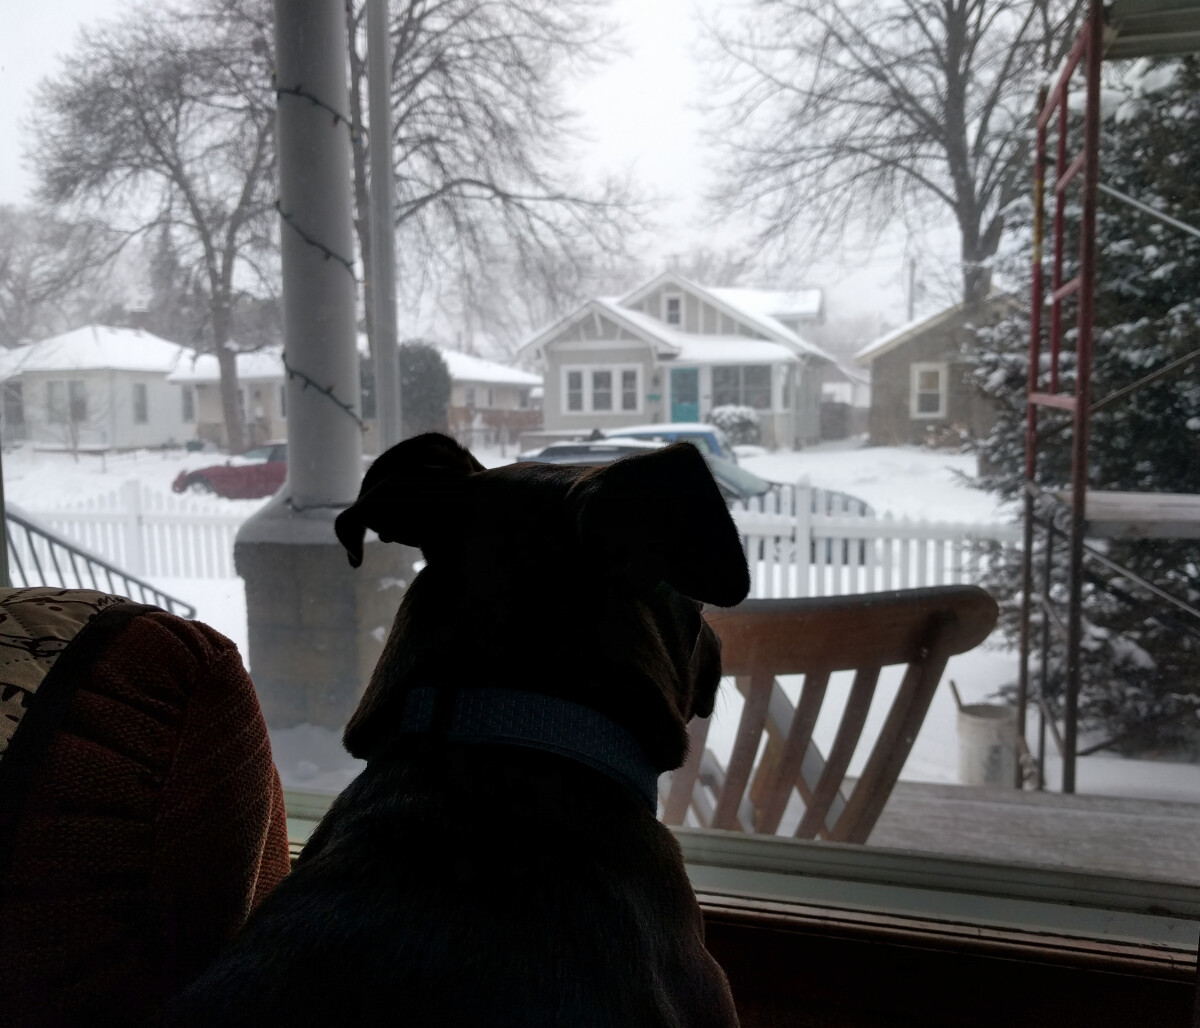
It also had functional concerns: the tar paper is a moisture shield but there’s no real guarantee that it will be effective if it has to do all the work itself. Getting moisture under the tar paper, rotting the plywood and entering the rest of the house seemed like a recipe for a bad time. The chimney was high on our priority list for these reasons, but the final straw was when a woodpecker started visiting daily to peck at the chimney. It felt like it was mocking us for our shortcomings and portending worse problems in the future. I GET IT, WOODPECKER, WE SHOULD HAVE COVERED THIS UP BY NOW! After a week of being blatantly taunted by a bird, I resolved to finish the chimney once and for all.
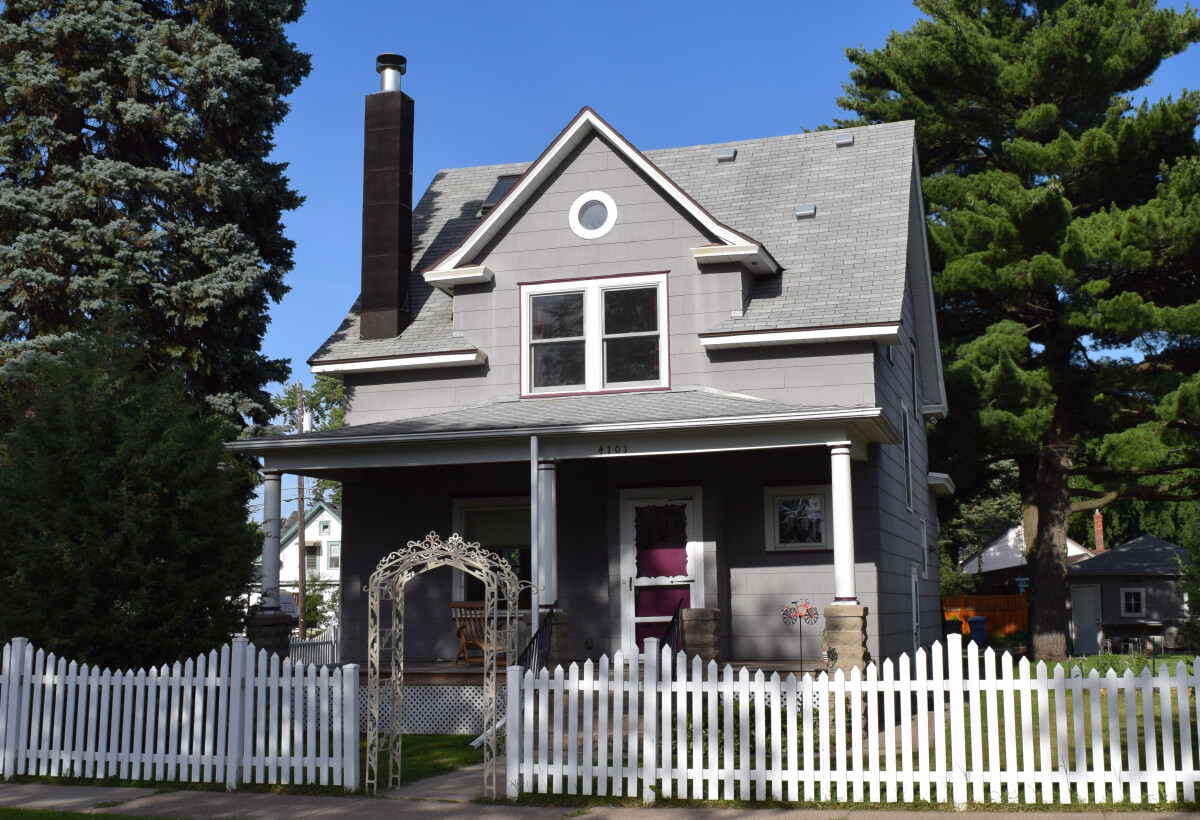
I was relatively sure I knew what we needed. The structural parts of the chimney were all there, we just needed to cover it with something that provided permanent weatherproofing and looked like an actual finished product. Apparently it’s common to put siding on these types of chimneys (because the outer structure doesn’t actually experience much heat), but I was never convinced that we could pull that off in a way that was anything but ugly. The chimney is quite tall, presumably because it needs to extend beyond the second floor, and it comes directly out of the roof so it doesn’t have any visual connection to the rest of the exterior walls. Turning it into a weird pillar of siding seemed like a great way to call attention to how awkward it is.
A mockup. See? It's weird.
The previous owners had planned to do river stone to match the fireplace finish, but we are not that into river stone and besides, it wouldn’t fit the style of the neighborhood at all. Longfellow is a lot of old houses and of those that still have visible chimney elements, it’s a split of about 90% red brick and 10% yellow brick. Brick seemed like the easy choice, if we could make it work. Some research led me to “thin brick”, which is thin slices of brick face that get attached to a backing element like, say, the structural column of a modern chimney. Thin brick is still true brick material and still gets mortared in, so it reportedly has durability comparable to actual brick. It doesn’t have the immense weight of full brick, so it doesn’t require the support structure that a traditional masonry chimney would. Seemed like we had a winner.
Finding someone to actually do the job proved much more difficult. Chimney companies told me I should find a mason. Masons told me they didn’t do veneers. Contractors told me I should put siding on it. Siding companies told me they only did full-house jobs. The city inspector told me I needed to have it inspected because he didn’t think it was to code (it was). The overall hassle of finding someone who wanted to do the job felt very disproportionate to the actual size of the job. Welcome to home ownership, I guess.
After not seeing much success through other routes, I decided to give Thumbtack a try and it worked out well for me (they have since changed their business model so I wouldn’t necessarily vouch for them any more). We got matched up with several worthwhile contractors, including the one we went with, Ryan at Creative Concepts. Ryan not only had the best quoting process and communication, his bid came in well under all the others, so it ended up being an easy decision. I suspect Ryan may have underbid the job and regretted it later, but if that was the case he was a total professional about it and never turned it into my problem. He and his crew did great work and (as far as my untrained eyes can tell) the results are excellent.
I lined the job up to be part of our spring of construction, hoping that we could get the chimney folks done and out of the way before the egress window and fence folks started. It worked out in the end, though it wasn’t quite as simple as any of us hoped. The installation was, in theory, a pretty straightforward affair. Erect scaffolding, check the existing structure and put up metal lathing. The tar paper had done an admirable job protecting the structure from the elements, so the crew replaced it but was able to leave the wood structure untouched. After an inspector checked it, they’d spend a couple days brick & mortaring and we’d be all done.
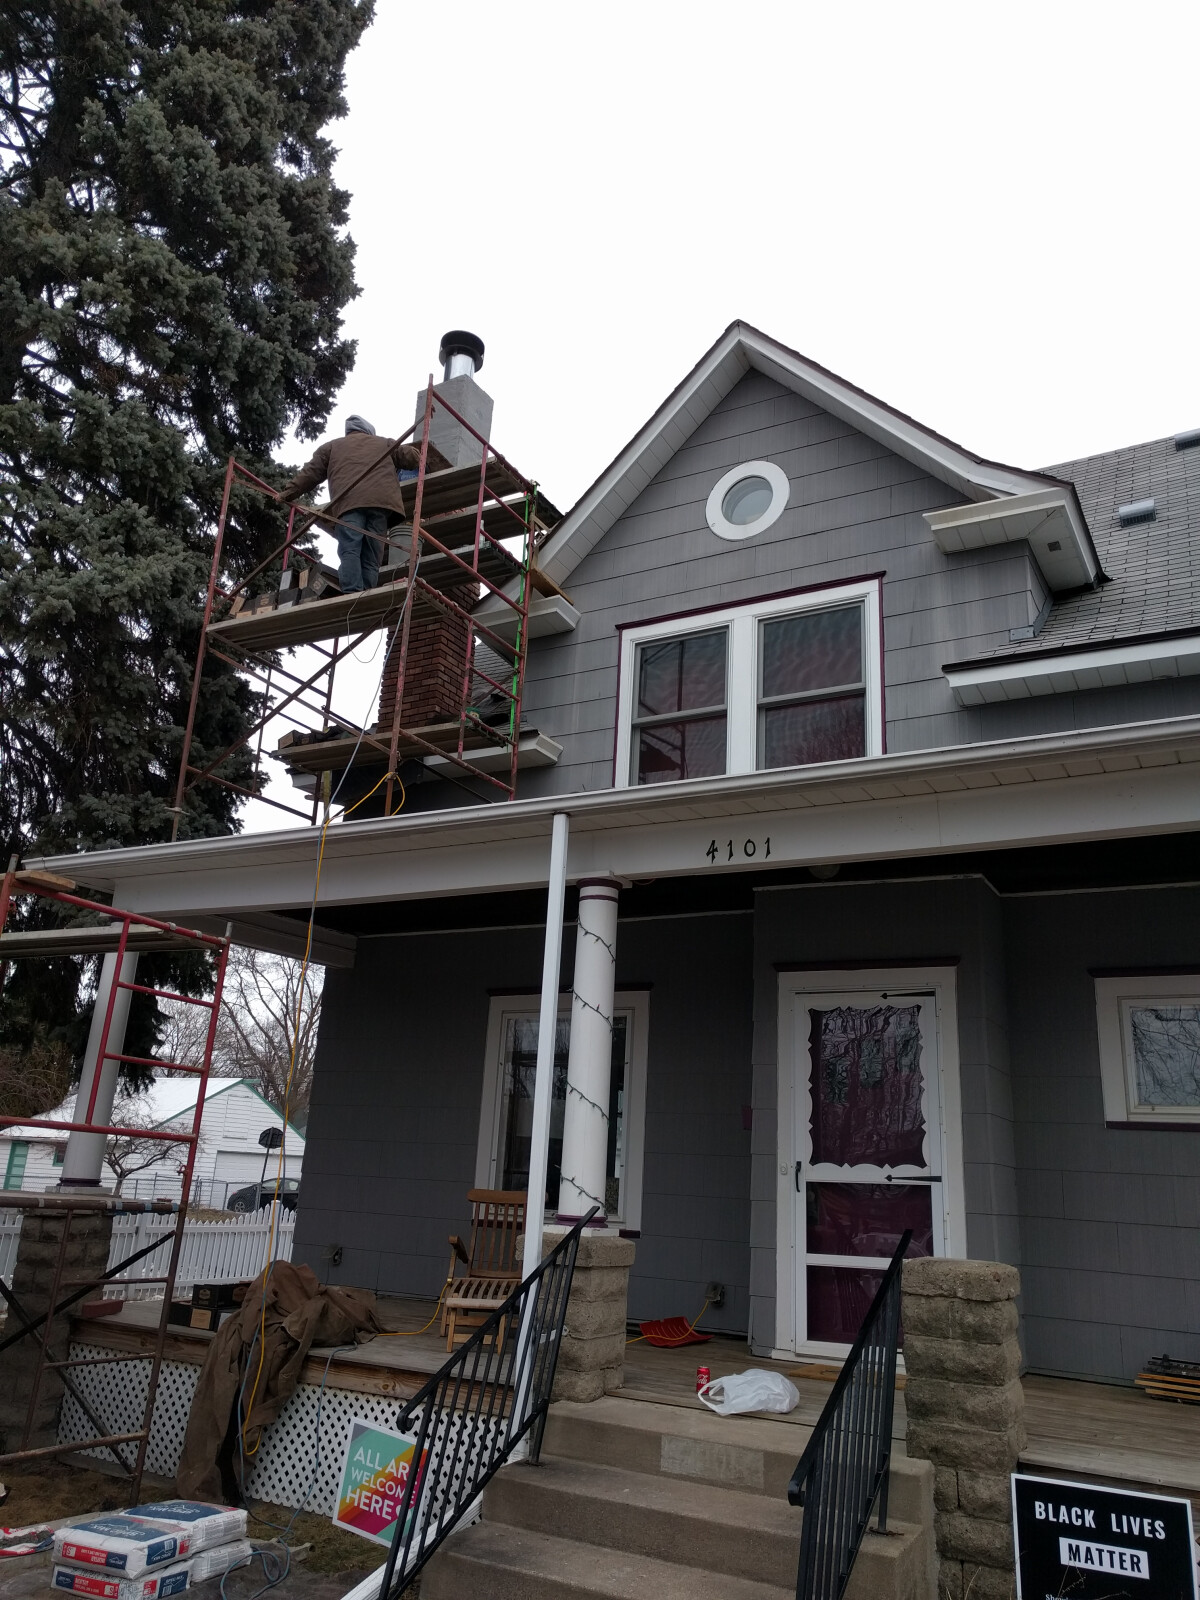
April 12th. This was the last of the work that happened for a while.
Unfortunately, winter decided to perform a Minnesota goodbye that year. The poor crew had a snowstorm roll in halfway through the bricklaying, and the temperature dropped enough that they couldn’t keep putting up mortar because it wouldn’t cure properly. So work got suspended for over a week while April refused to act like spring. Ryan was very communicative and kept apologizing for the delays, which I appreciated, but it’s not like I expected him to be able control the weather. These things happen!
April 15th, 2018.
These delays would have messed up the scheduling with the other contractors, but the cold was causing delays for everything else too, so it worked out okay. The egress window had to wait until there wasn’t feet of snow on the ground, and our fence builder couldn’t start until the ground thawed, so everything ended up happening in the original order, just several weeks late.
Once the weather cleared, the crew wrapped up the rest of the work pretty quickly.
-
There are more color options than you might expect. We went with "Bell Tower", or as I like to call it, "Brick".
-
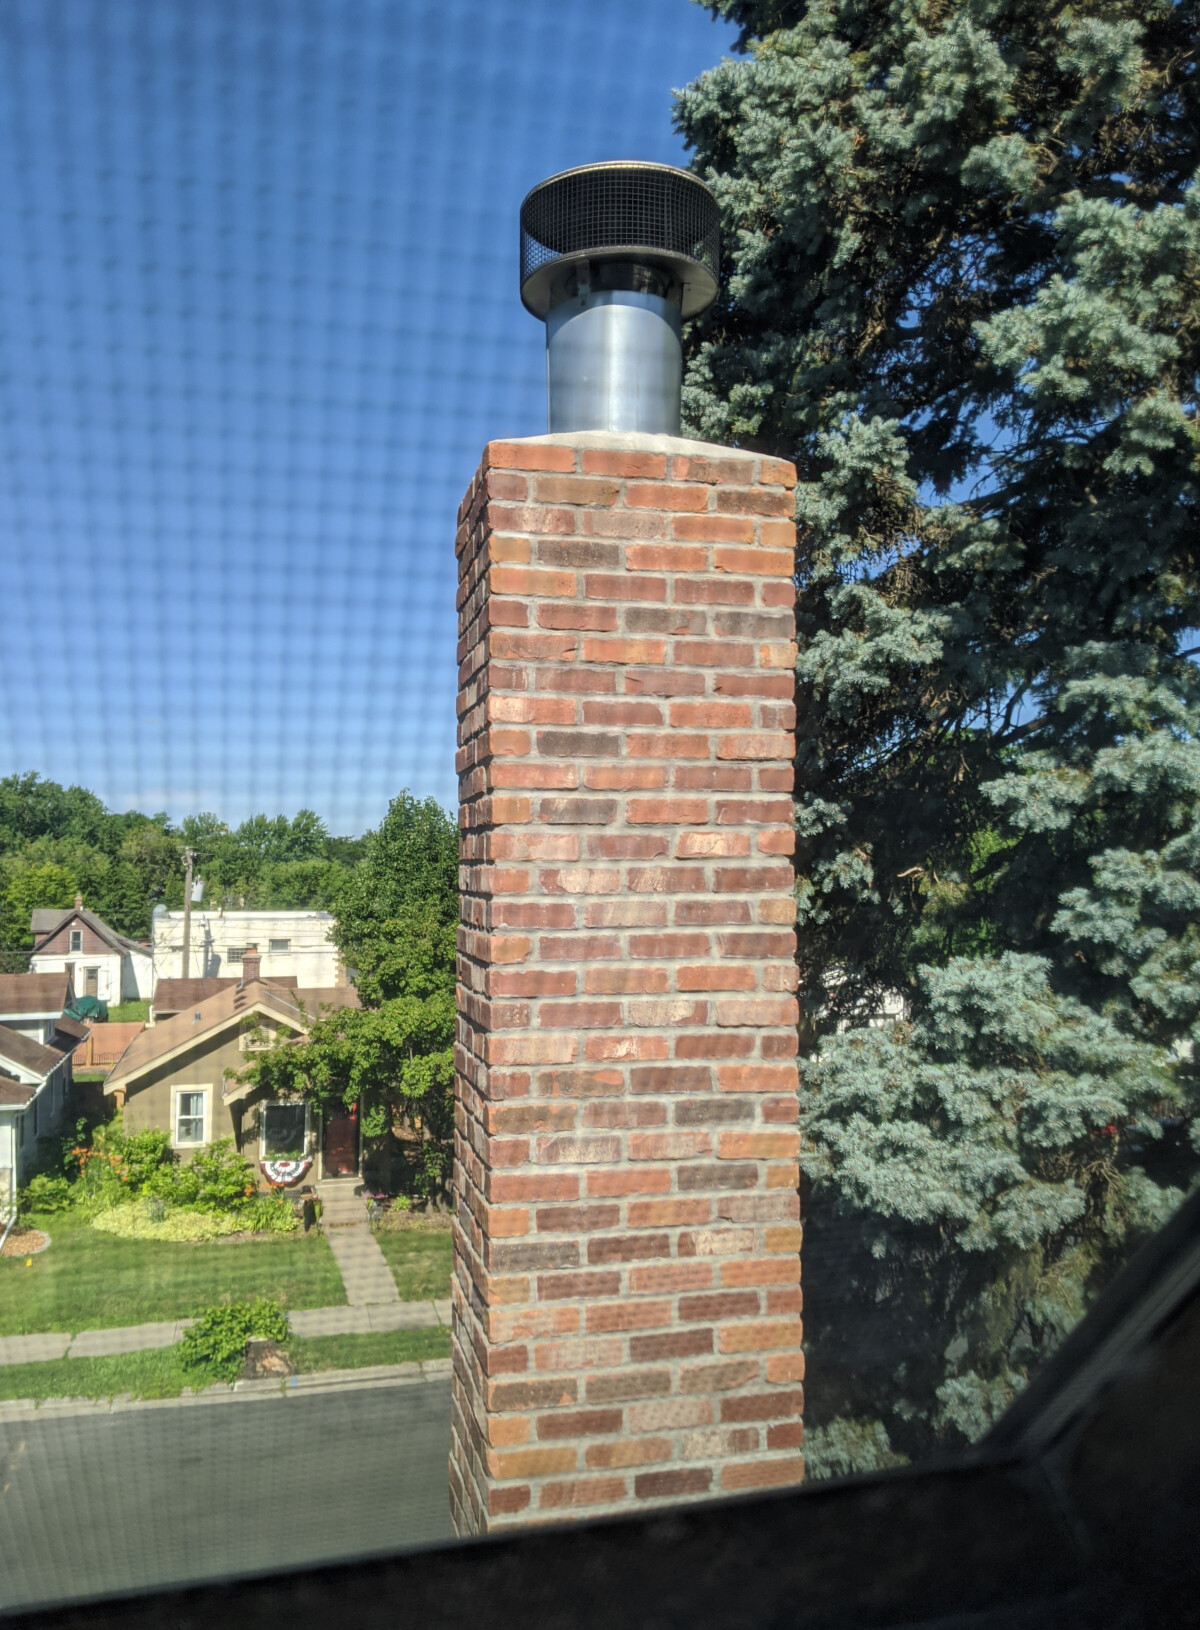
View from the attic window
-
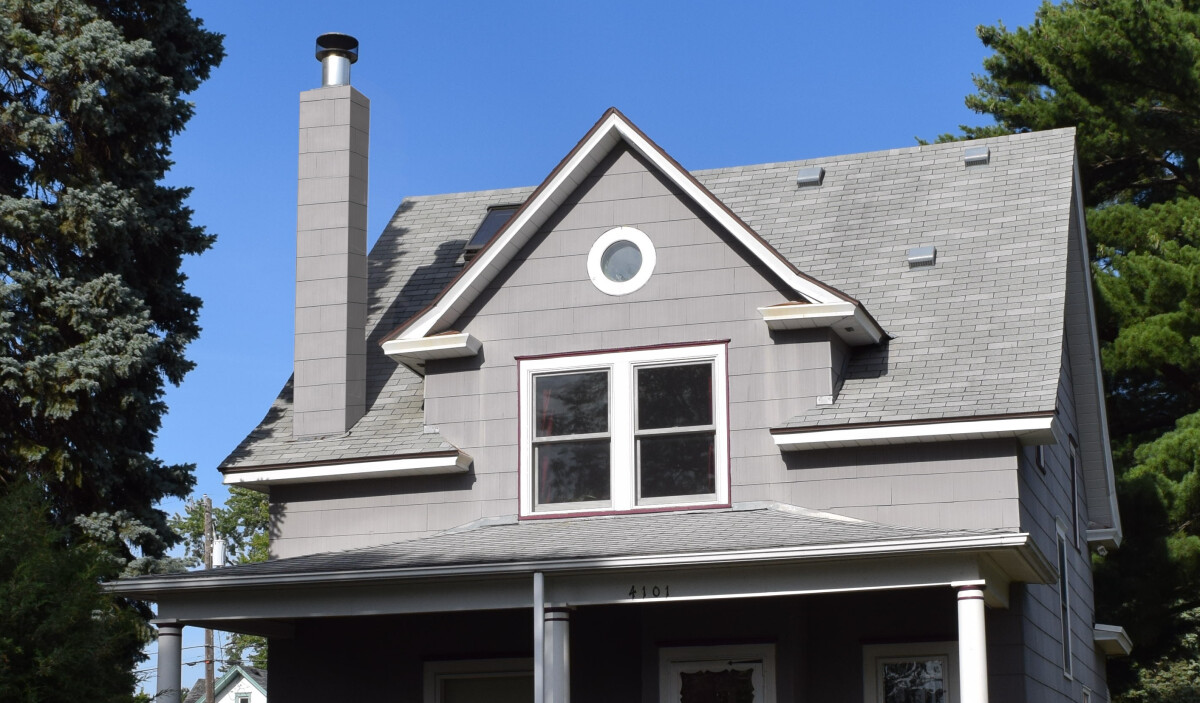
I like that the chimney looks like brick, that it fits the style of our house and fits the style of the neighborhood. It doesn’t draw attention to itself any more and that was exactly the goal. Most of all, I like that I just won’t think about it very often. If it’s as durable as promised, I should have decades before it needs any attention, and the freedom to spend less time worrying about my chimney is a worthy investment.
Finishing your chimney: would recommend.
Time & Materials
| Contractor Expenses | ||
|---|---|---|
| Materials: Lath, weep, masonry, sakcrete, thin brick | $1,560 | |
| Labor: Scaffolding | $250 | |
| Labor: Installation | $1,700 | |
| Equipment & truck | $300 | |
| Permit | $200 | |
| Total | $4,010 | |