The basement was mostly finished when we bought the house. It still needs drywall and ceiling and a few other finishing touches, but it was already waterproofed, insulated, and had a new cement floor with in-floor hydronic heat. Time will tell if we actually take advantage of it being finished or continue to use it as a basement, like we’re doing now.
To ready it for use as a finished space, the final important component was an egress window. This would allow us to have a legal bedroom down there, which is what would give the biggest boost to our property values or whatever. Beyond looking good on paper, an egress window provides straightforward functional benefits. It brings a lot more light into the space and makes it feel more like a room and less like a dark basement. It also gives you a way to escape in case of fire, which is sort of the whole point.
In terms of immediate impact on our life, an egress window wasn’t at the top of the priority list. However, we knew that given the nature of the project we’d make it easier on ourselves if we got it done soon. Bringing digging machinery into the yard would become more difficult once we had a full fence, and the work itself would be likely to damage any landscaping around the site. Since a fence and major landscaping were both in the cards for the coming year, it seemed prudent to get our hardscaping out of the way while it was still simple.
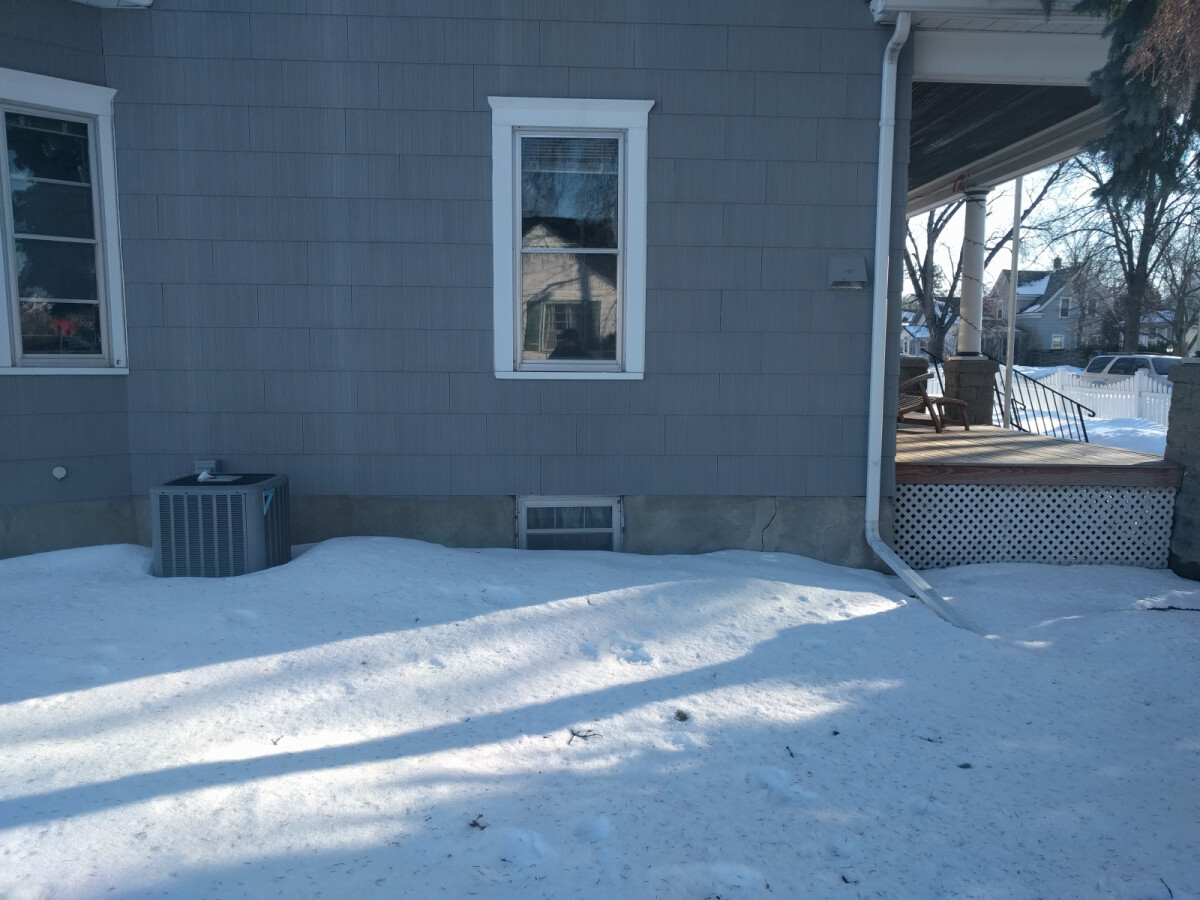
There were two candidate windows along the north wall of the basement. They are both framed out as if the original intent was to convert them to egress windows. We thought about doing both, but that would have doubled the cost and not doubled the benefits. A single egress window seemed like the best balance for our needs. One of the windows was situated in a more likely spot for a future bedroom, plus it was a simpler section of wall (the other window sits in a bump-out where the first floor bay window follows down into the foundation), so it got the nod.
-
The window to be replaced, from the outside.
-
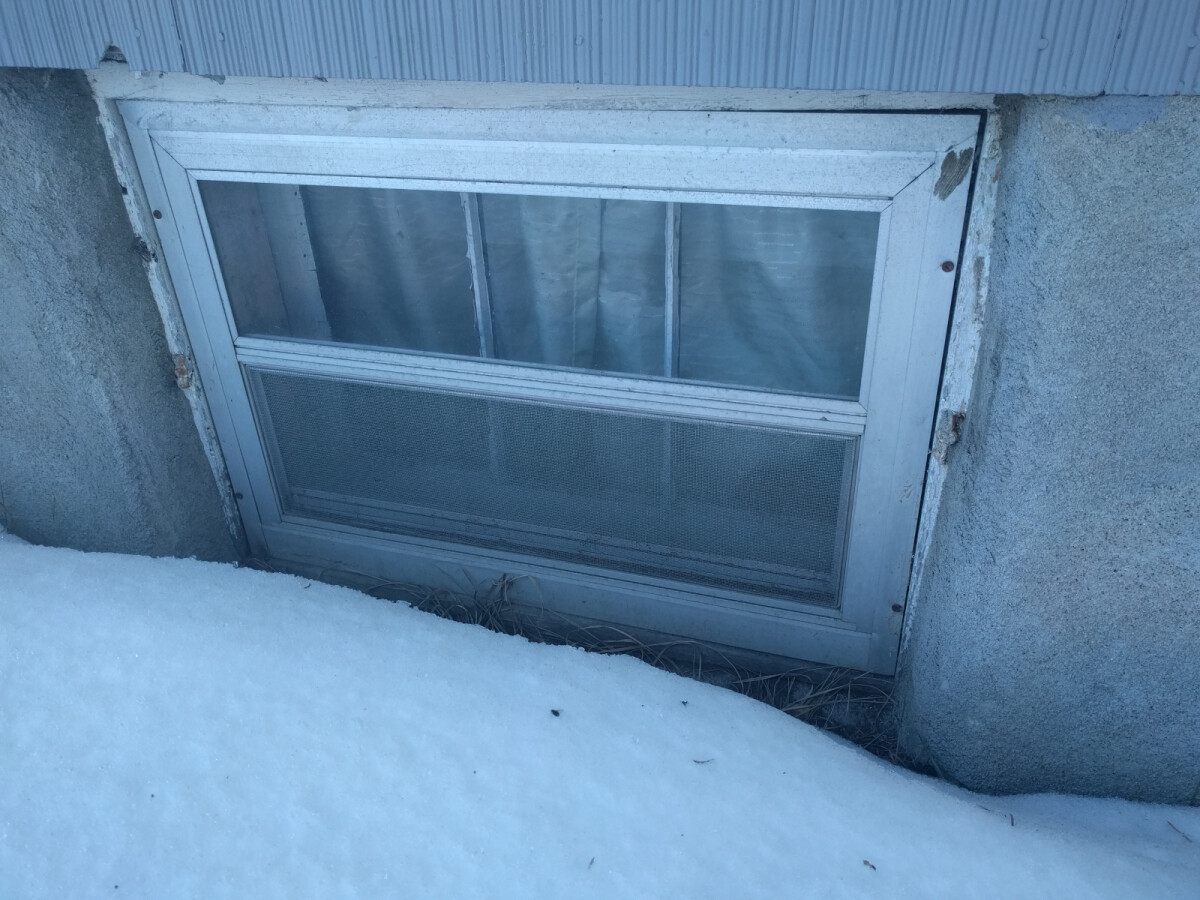
Sad and small.
-
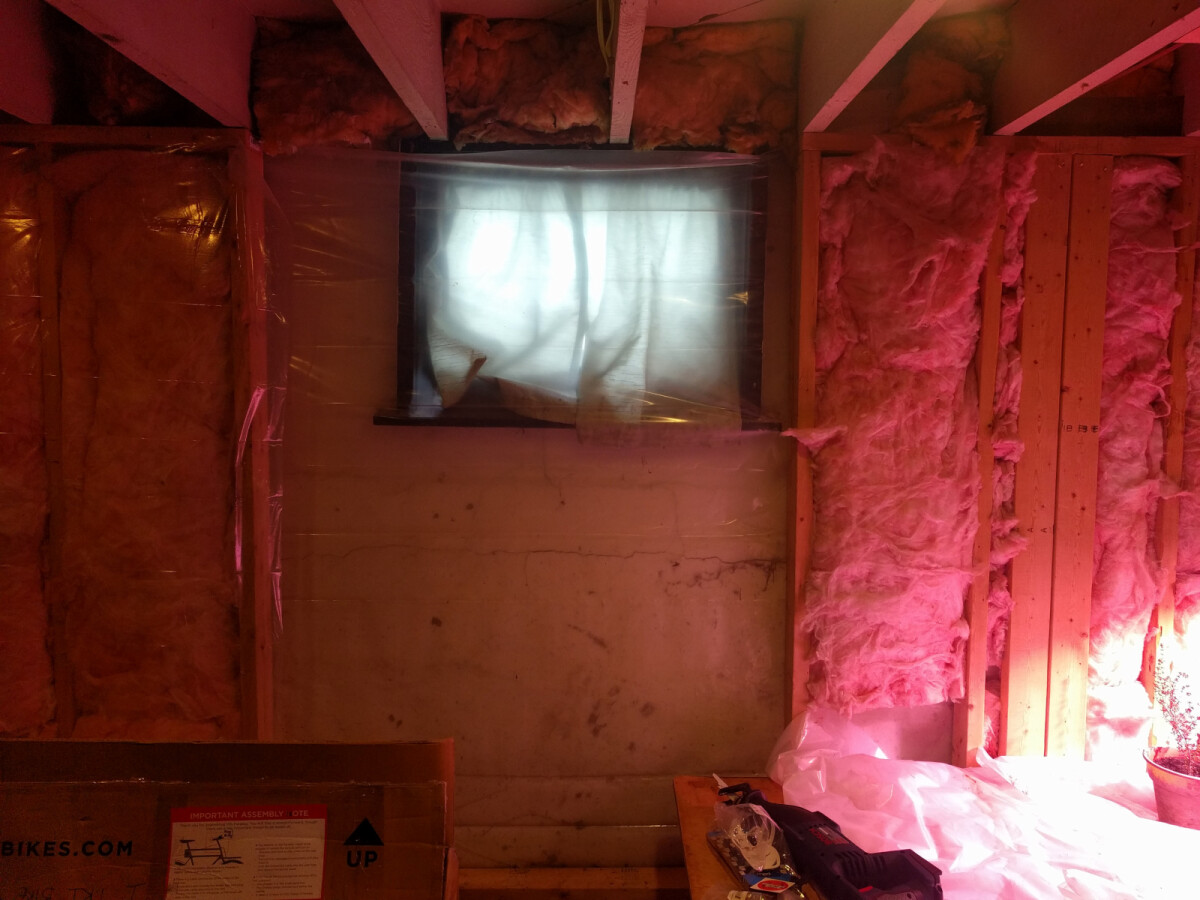
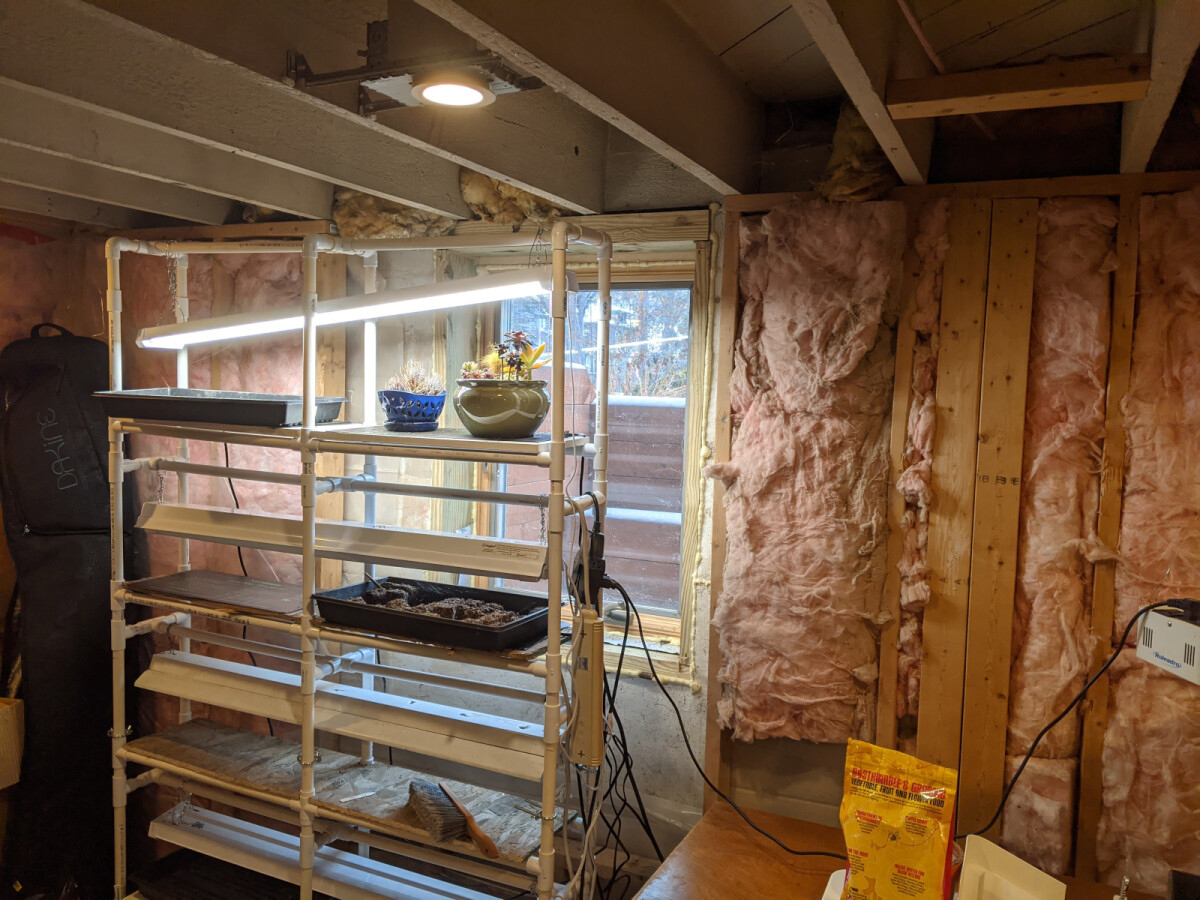
The window to be replaced, complete with sad curtain behind the vapor barrier. Yes, the basement really is bathed in pink light, that's just how we choose to live.
I got a couple quotes but didn’t look very hard because Egress Window Guy seemed like an easy choice. They get a lot of good reviews on Nextdoor and Angie’s List. They specialize in this one thing so the whole planning and quoting process is very streamlined. Their prices are reasonable, and better yet, they have a standardized price sheet for all their options so I was able to get a very straightforward apples-to-apples comparison on the cost differences between various options. Also, they offer a discount if you obtain an online quote by filling out a questionnaire and sending photos so they can save a site visit. My kind of people!
Most of the effort that goes into an egress window isn’t the window itself, it’s digging a big old hole in the ground for the egress. It was a two person operation: they brought in a mini-excavator and two wheelbarrows and one person operated the scoop while the other basically ran back and forth carrying loads of dirt to the area I had designated. He’d run one wheelbarrow to the dirt pile while the other one was being filled, then run it back, swap for the full one, and start again. That guy must sleep well at night.
Having a six-foot hole dug in your yard is a good opportunity to learn about the soil profile. Once I showed interest, the guy doing the digging helpfully told me about what he had noticed. Apparently we have a couple feet of good topsoil, then a heavy clay layer, then underneath that is fairly sandy subsoil. Weird, but not too bad. This was timely information as well, since I was very shortly installing a rain garden in the same side of the lawn. In the end we get good enough drainage through the clay layer that I haven’t needed to do anything special, but if our rain garden wasn’t draining quickly, I would have considered trying to dig or punch holes through the clay, knowing that there was well-draining sand underneath.
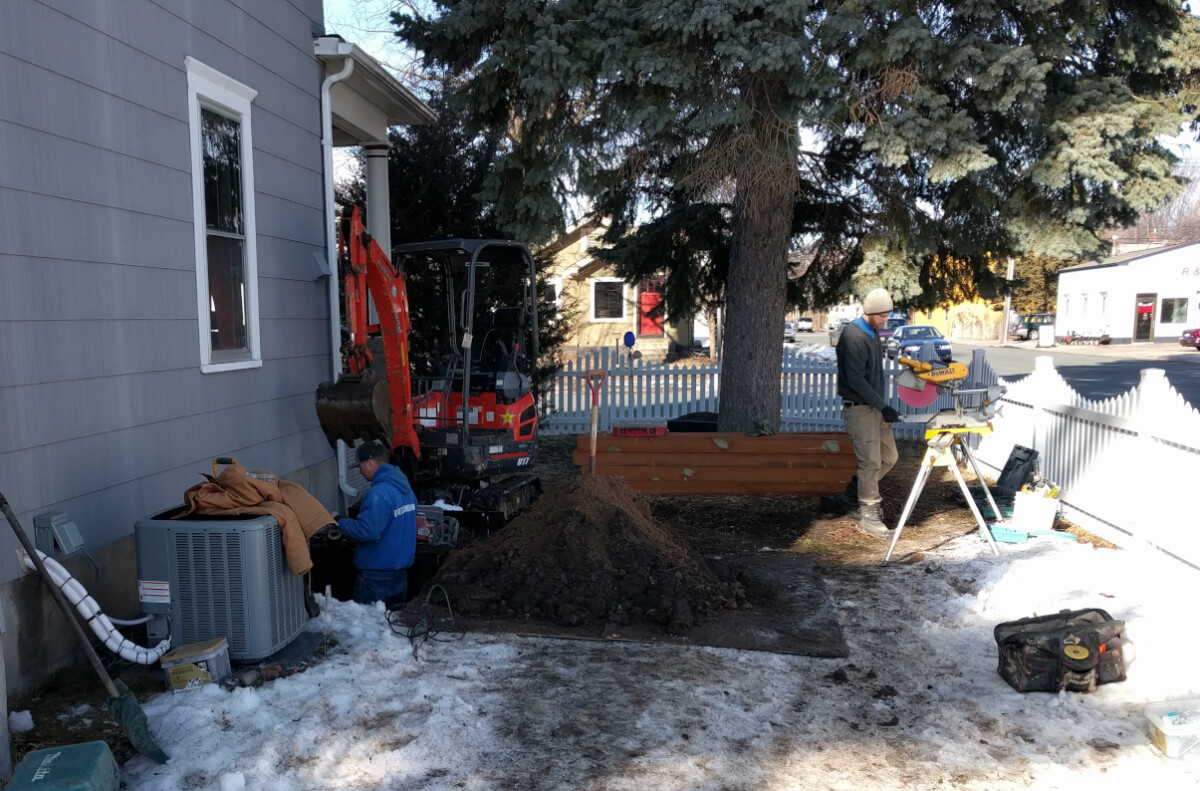
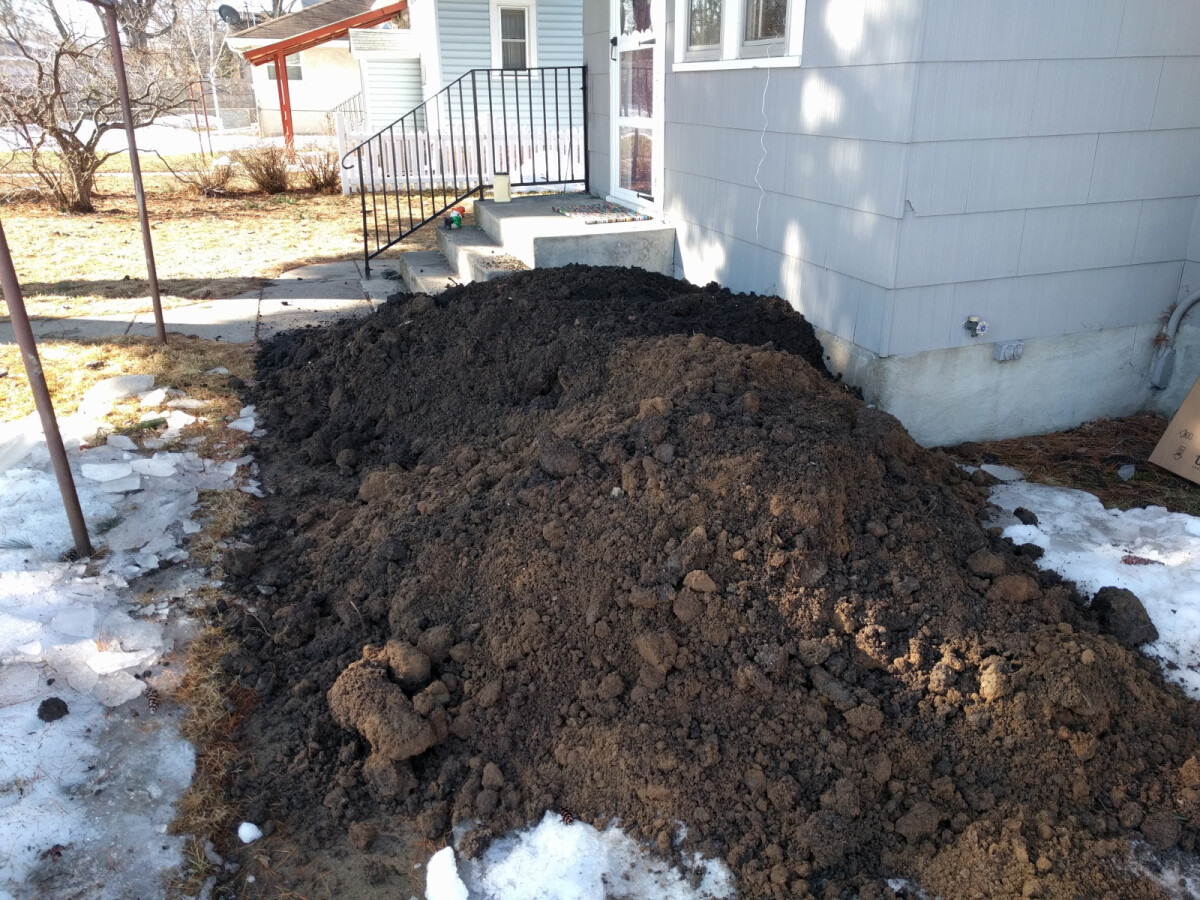
Getting the hole ready. This isn't even most of the dirt; note the trodden path leading away from it.
Once the hole was dug, it was just a matter of sawing through the concrete block foundation and installing a window opening. I was busy with other stuff so I didn’t pay a lot of attention to this part, but they moved pretty fast. The whole thing took about two thirds of a work day.
I was glad we made the decision to do this piece early, because it was somewhat disruptive to the site, as expected. The crew was very respectful and did their best not to mess up the surrounding area, but digging a big hole is always going to create a bit of havoc. It didn’t help that the ground still had melting snow on it (thanks, April of Endless Winter). The mini-excavator left some tracks driving in, and the path used by the beleaguered wheelbarrow shuttle-man got pretty trampled and compacted. If I already had nice landscaping in the area they were working, I would have been stressed out by this project. As it was, the whole area was just crappy grass that was due to be torn up and converted shortly anyhow, so I didn’t mind at all.
We didn’t pay extra to have the dirt disposed of, so we were left with a small mountain on our back patio. A lesson I’ve learned a couple times now: you’re always going to generate way more dirt than you think.
We did eventually relocate it all to other places around the yard, but it took us most of a year to slowly chip away at it. I had planned to use the dirt to regrade a section of the yard near the foundation, but that didn’t make nearly as big a dent as I had expected. A lot of it went to leveling out a low spot in the back yard, and some more went to slightly raising the profile of the new planting areas I put in along the fence in back. The clay subsoil was the hardest thing to use up, as it was heavy enough to not perform well in planting beds. That eventually led to the creation of my great ephemeral masterpiece, so I guess I just needed to take the whole journey to reach the destination.
The finished window looks very nice.
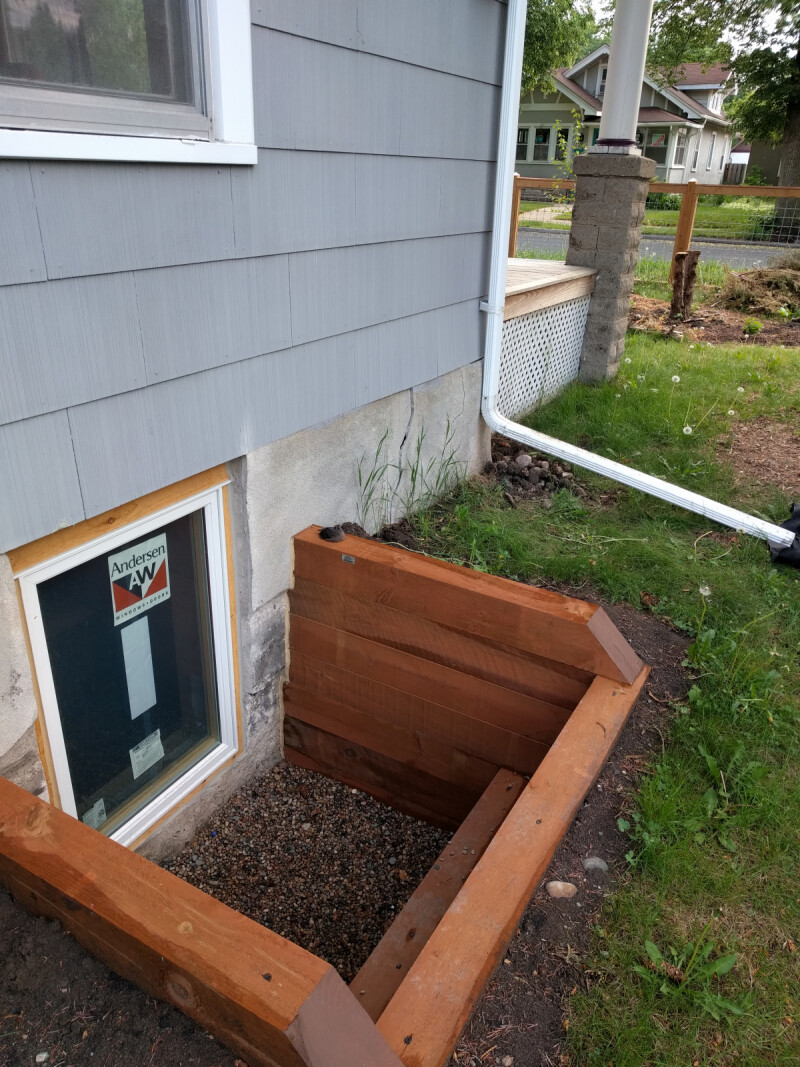
I don’t remember the details of the window options but we got an Anderson 400 Series, I believe because it was a step up from the basic option and my research suggested it would do an acceptable job. We splashed out for the more spendy timber lining on the well itself instead of a basic galvanized metal sheet. I’m very glad we did, even though it raised the price considerably. A window with a galvanized well would be fine and would do the job adequately, but I don’t think it would actually make the room better. The timber well is attractive enough that the window becomes an asset and really adds to the ambiance of the room. It’s also much prettier from the outside. Galvanized wells are always a little funky and tend to feel like something you want to screen, while this one serves as a feature in the landscape.
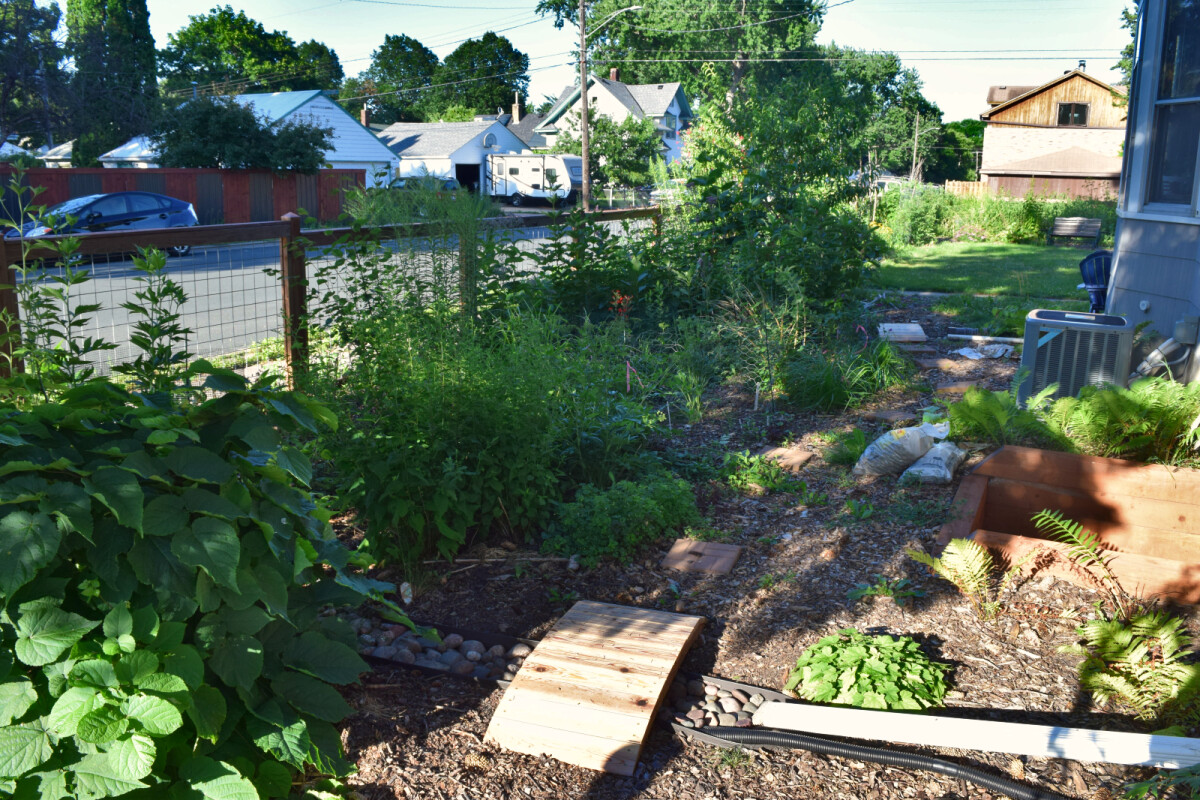
The timber well meshes wonderfully with the new landscaping.
The wider opening also lets in more light and gives a feeling of expansiveness from inside. This part of the basement feels a lot cheerier than it did with the small dim window.
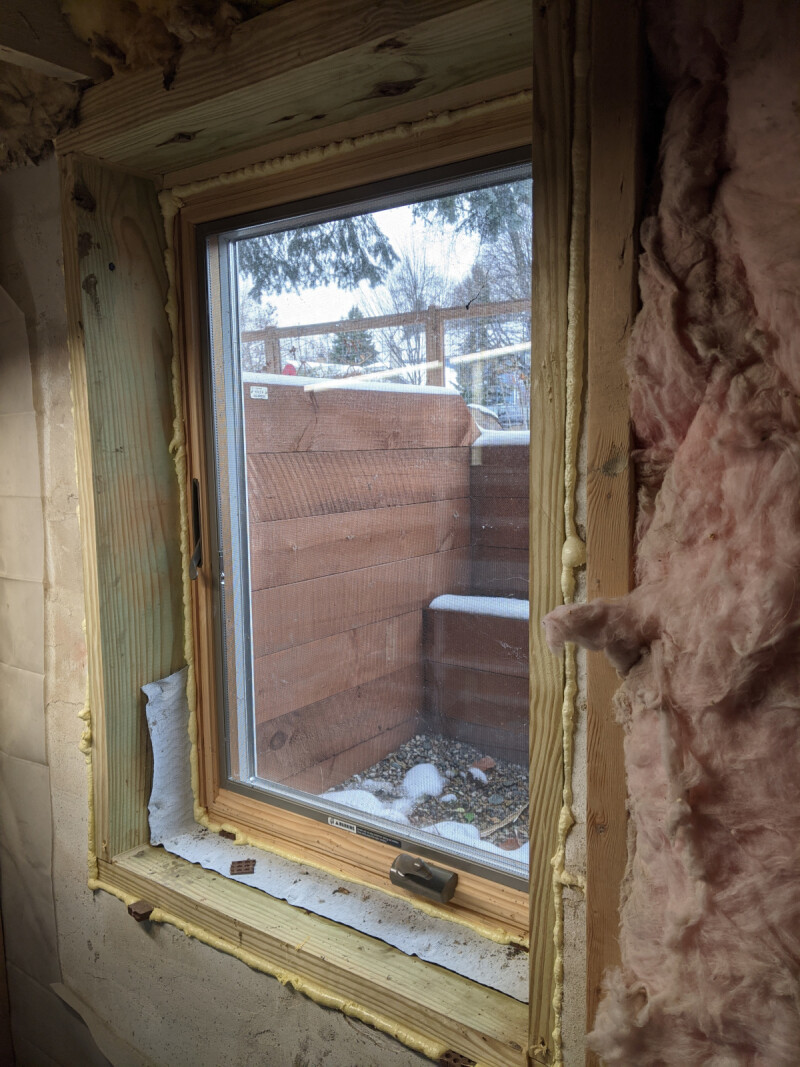
With the window installed, the only thing left for me to do was finish the interior trim, so I got right to work. Ha ha! Just kidding, it’s been three years and I haven’t touched it. I only took the stickers off the window just now to take this photo. When we finish the rest of the basement, we’ll finish the window interior. Until then, it just isn’t a priority. It’s still the best-looking part of the basement.
Shhhh, this is fine.
Time & Materials
| Contractor Expenses | ||
|---|---|---|
| Base price (materials & labor) | $1,620 | |
| Upgrade to timber well | $630 | |
| Permit | $75 | |
| Total | $2,325 | |