As part of the rain garden, I had dug two channels to carry water from the downspouts to the basin. The infrequently used path on that side of the house crosses those two channels. Once I got them fixed up nice with aluminum edging, I wanted to do something at the crossings to prevent the edging being crushed and cut down on debris being kicked into the channels. I decided a couple tiny garden bridges would be in order. There are a few houses in the neighborhood with very cute little bridges that served as inspiration and gave me a rough idea of what I was aiming for.
I needed the bridges to remain small and informal to match the vibe of the garden on that side, which is very naturalistic and fluid. Bridges with handrails or other formal elements would feel out of place, and bridges that were too large would dominate the space instead of blending in. I also wanted to be able to cross them with a wheelbarrow, so no steps. I planned to use cedar, since the natural wood look would be perfect and cedar holds up well to outdoor use and ground contact. Treated lumber was an option as well, but given how small these would be, the price difference wasn’t going to be all that huge and I’d just as soon have the natural option. Each channel is only about a foot wide, so each bridge only needed to be 2-3 feet long.
I didn’t find much in the way of pre-fab options. This kit is pretty close to the perfect shape and size, but it was out of stock with no restock date when I was looking, and it’s pricier than I wanted, especially since I needed two of them. Building my own seemed like the way to go.
Try #1
I did a bit of research to scope out the different options. I was intrigued by a couple designs I found that used formed laminated beams for the arches. This one is larger and fancier than I needed but very nice and well-documented. This one was closer to size and has a simple and elegant style that really nailed what I was going for.
I did some math and picked up the lumber I expected to need: 1x2s to layer for the beams and 1x4s for the planks, plus some glue and exterior screws. On a sunny day I set about creating the jig in the yard to bend the beams. I had some nice hefty garden stakes to pound into the ground and chopped up some scrap lumber for the brace pieces.
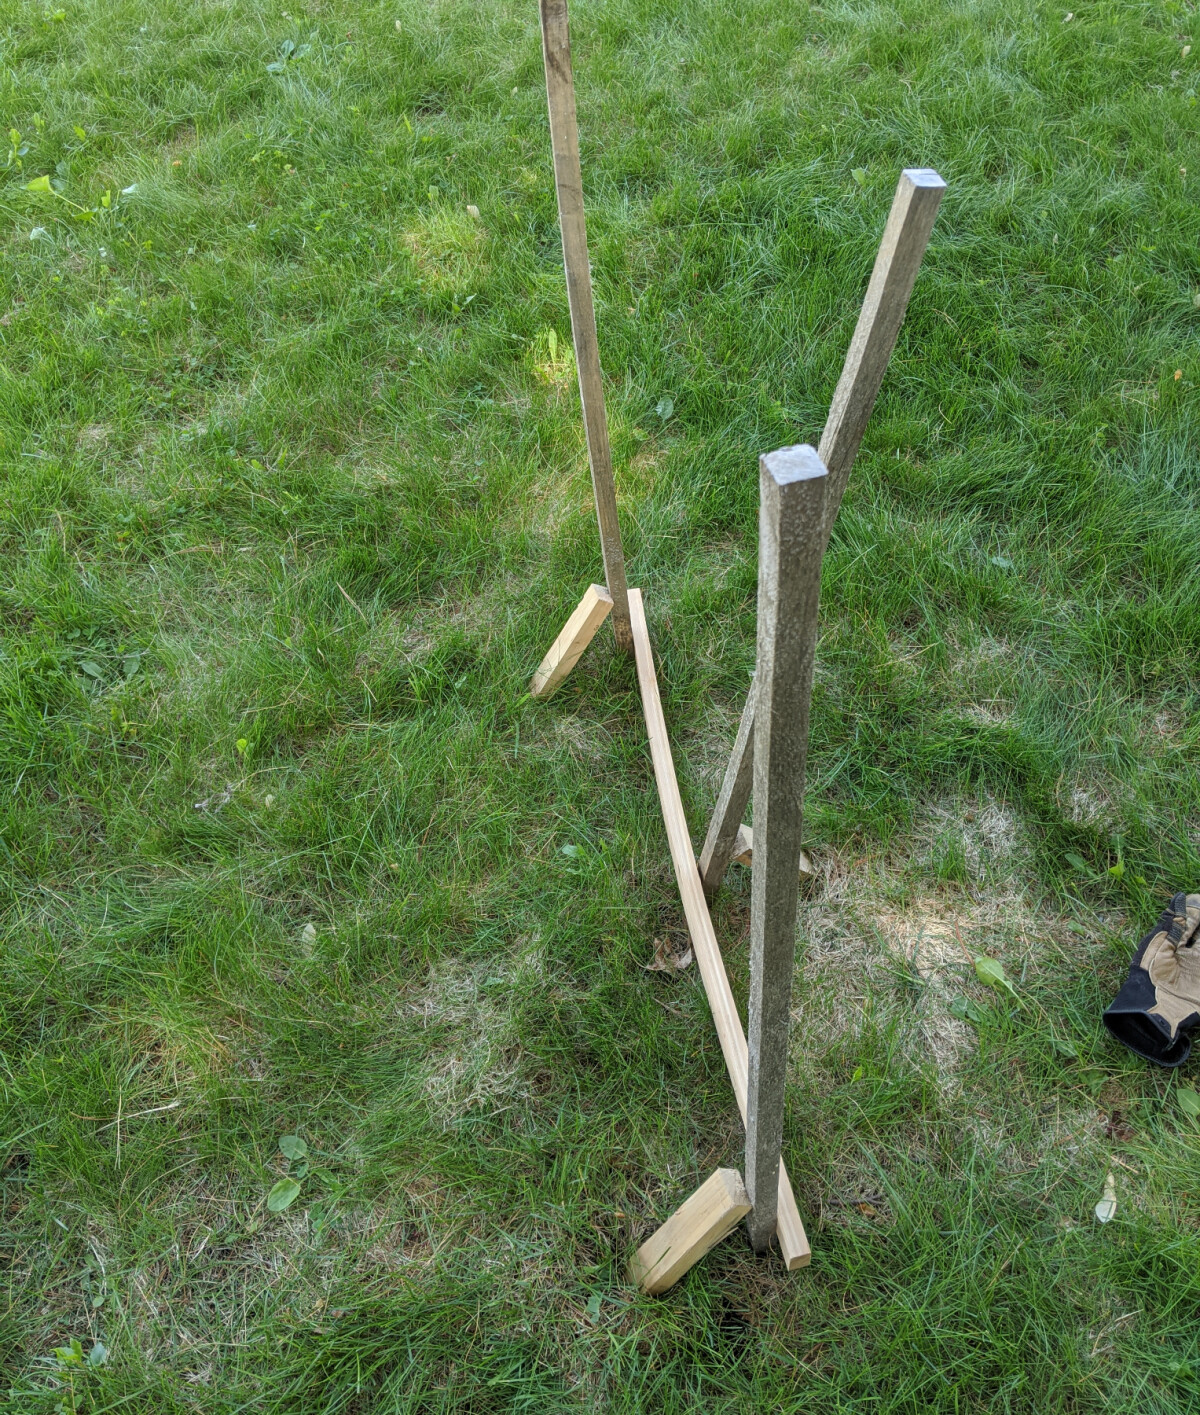
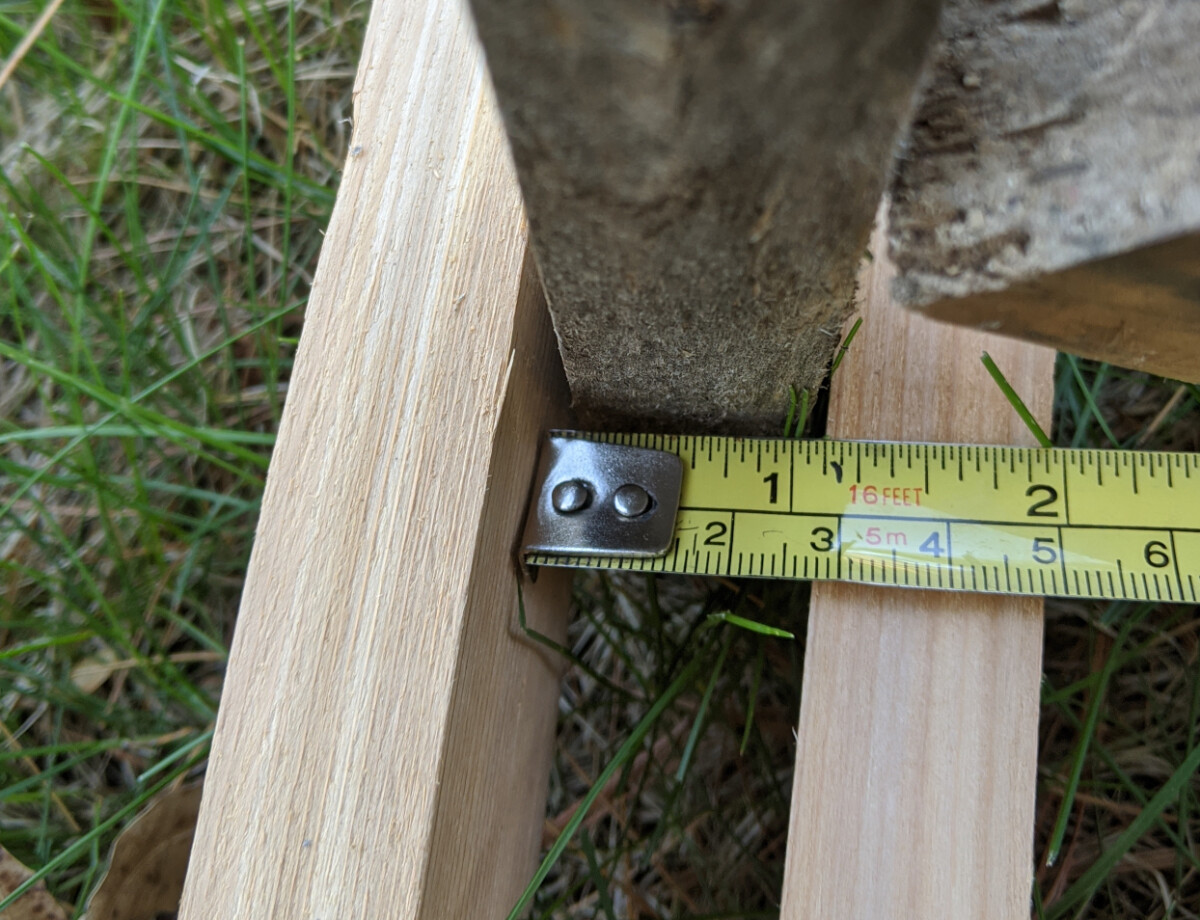
This is where I realized the flaw to my plan: the beams were only going to bend so much, and the shorter the length, the less total bend would be achieved. My short bridge design didn’t have as much length to bend as some of the examples I had been using as guides. Even after adjusting the jigs a couple times to bend the 1x2s to their absolute maximum, I was only getting a little over one inch of rise at the centerpoint.
I needed the bottom of the bridges to clear the edging at each side of the channel with a little extra space to accommodate settling over time, and this wasn’t going to be enough. Plus, it was so little bend that the aesthetics of it might also be lost. I decided to change course. Could I have cut the beams thinner and laminated more pieces together to get a bigger bend? Or could I have soaked or steamed the wood to make it more pliable? I don’t know, maybe. But I was trying not to overcomplicate the project, and I wasn’t so wedded to the laminated beam design to keep chasing it.
Try #2
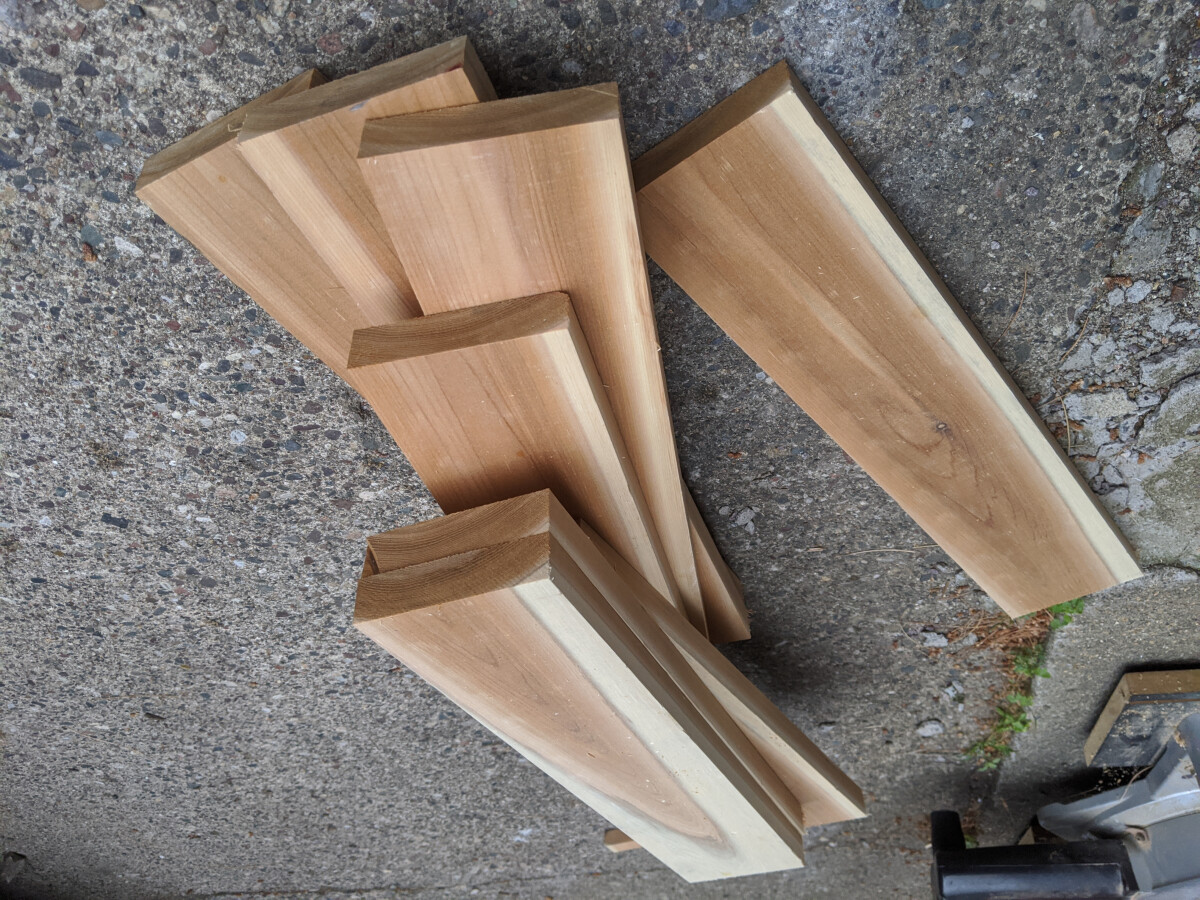
The other option to form the arches is to take a wide piece of lumber and cut it to shape. Luckily, I happened to have a long cedar 2x6 that I had picked up speculatively on discount, so it was easy to pivot to this design. I used some thin PVC pipe I had on hand to rough out a nice curve for the bridge shape with about the rise I was looking for, and then just freehand sketched the details to get what seemed like a good bridge shape. I cut out the pieces with a jigsaw. I had to pause at this step to borrow a jigsaw from my father-in-law because my thrift store jigsaw literally didn’t have the power to make a long cut through 2″ cedar. Once I had one piece cut out, I traced it to make the outline for the other pieces so they’d all roughly match. This being a rustic outdoor piece, the match didn’t need to be perfect so it was enough to just eyeball it.
-

A traced outline ready for cutting. I had tried a couple different layouts to fit all the pieces with minimal waste.
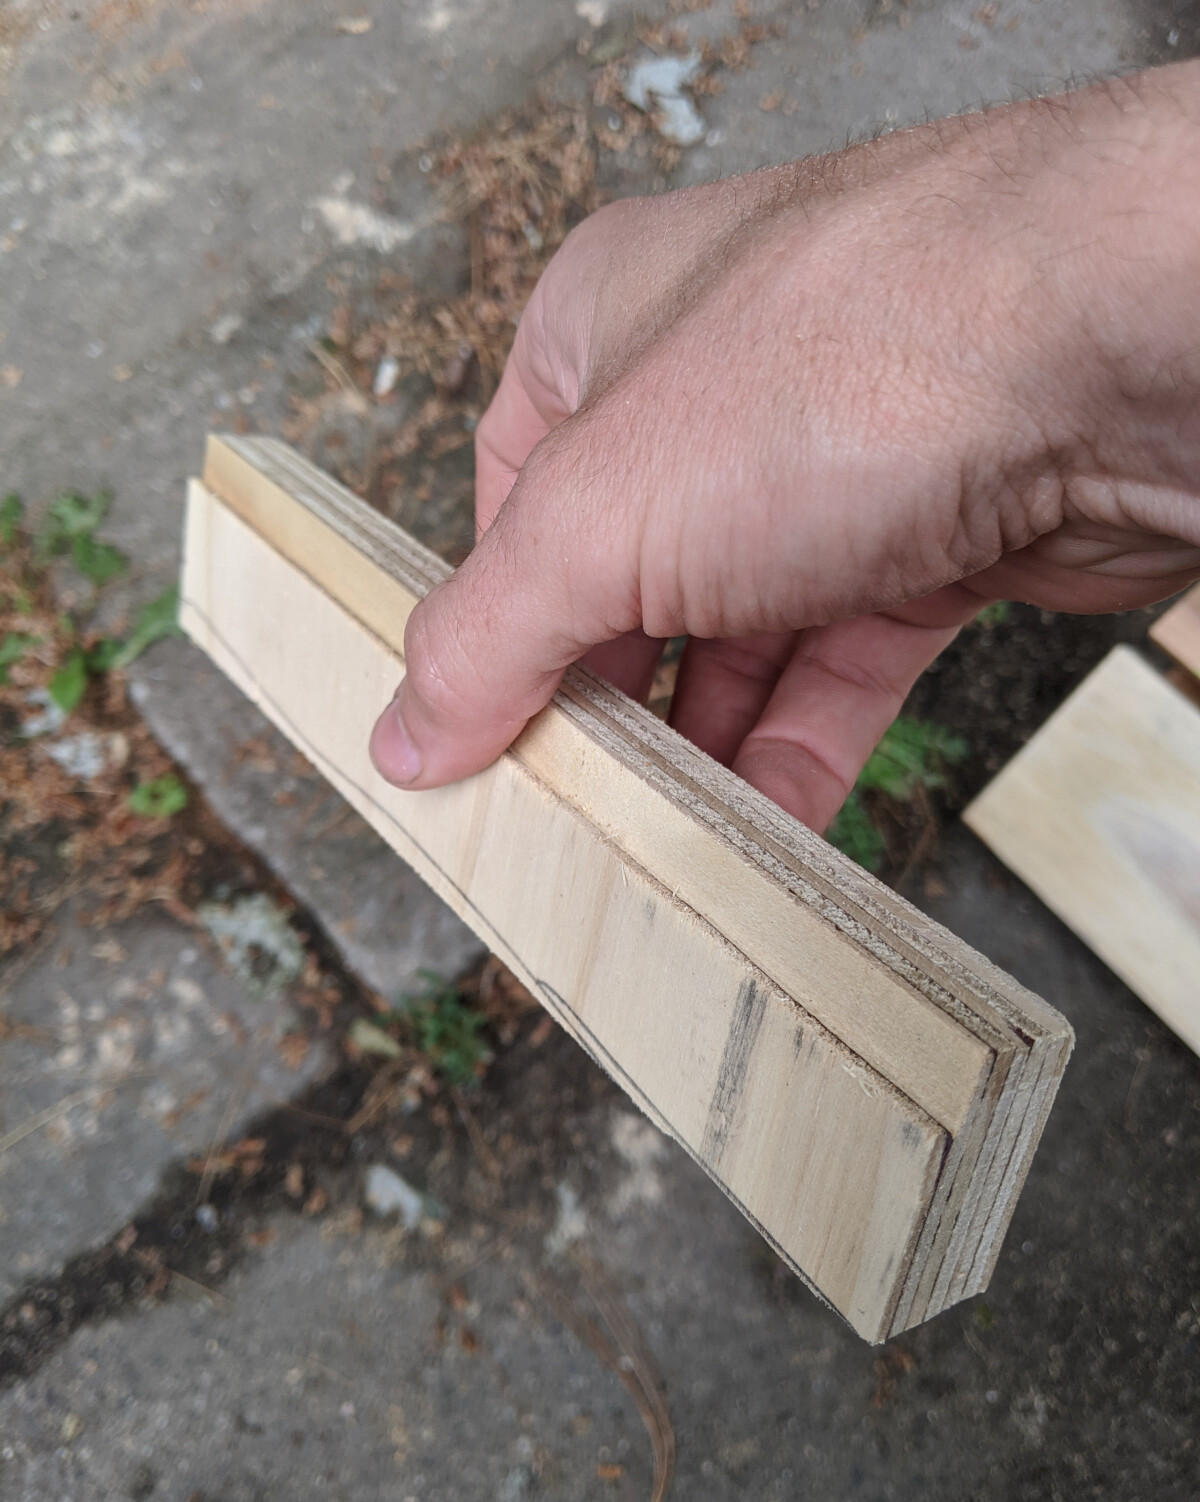
-
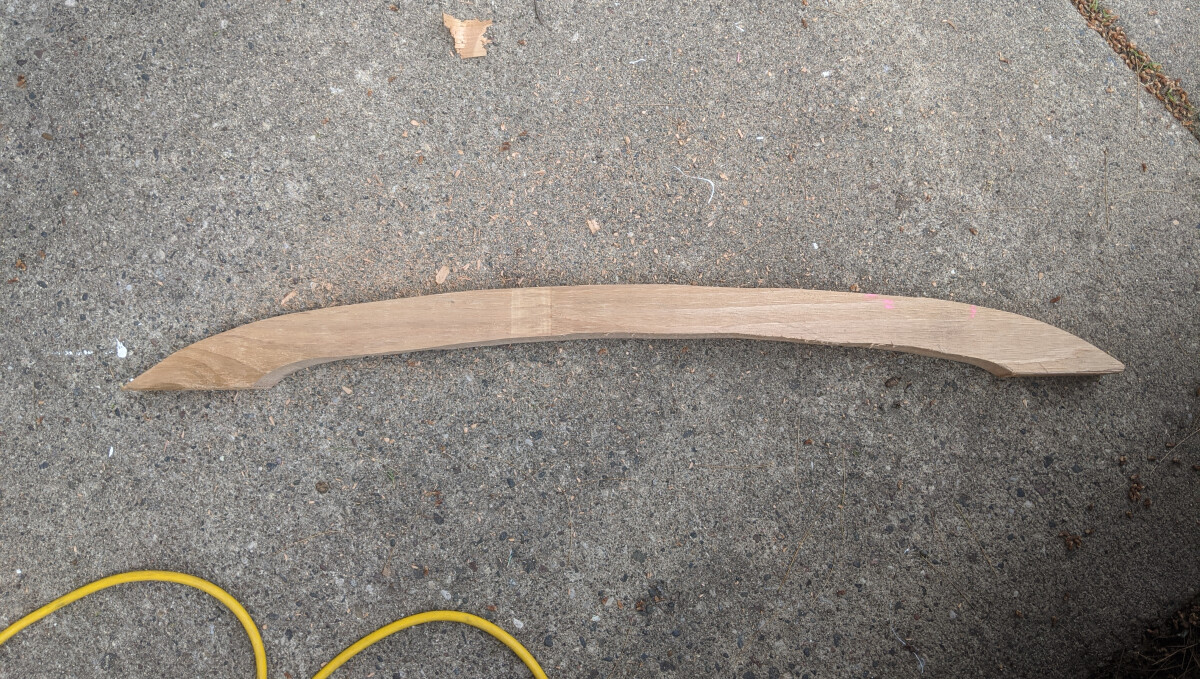
A finished beam piece.
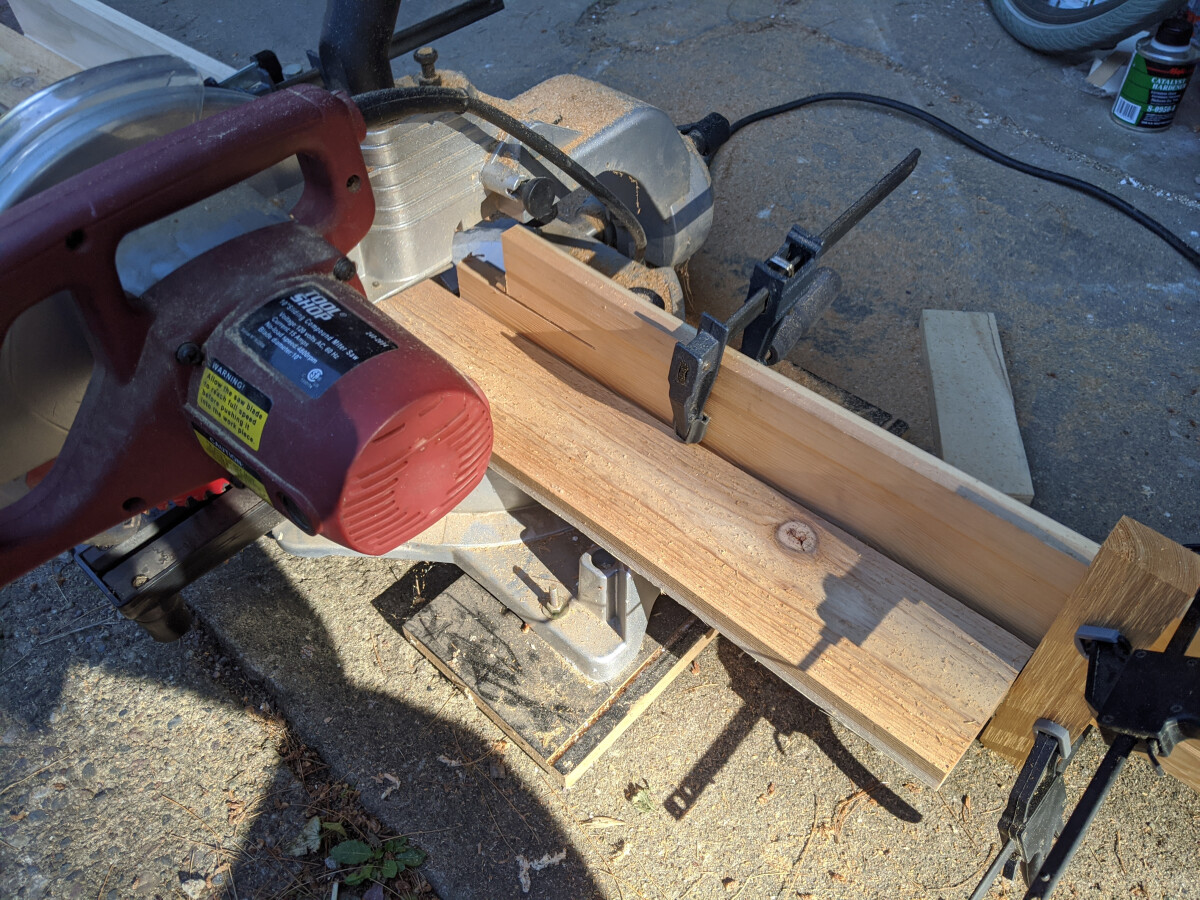
The planks were easy since they’re all exactly the same. When cutting a bunch of pieces like this, it’s worthwhile to make a little system for repeatable actions. I rigged a stop block to the miter saw so I could cut the same length without measuring. If I had a nicer miter station, I would have a fence and adjustable stops to be able to do this without so much clamping.
-

A fence and stop block clamped together from pieces of scrap wood.
-
Butting the plank up against the stop block makes it easy to repeatedly cut a consistent length.
-
A finished pile of planks ready for assembly.
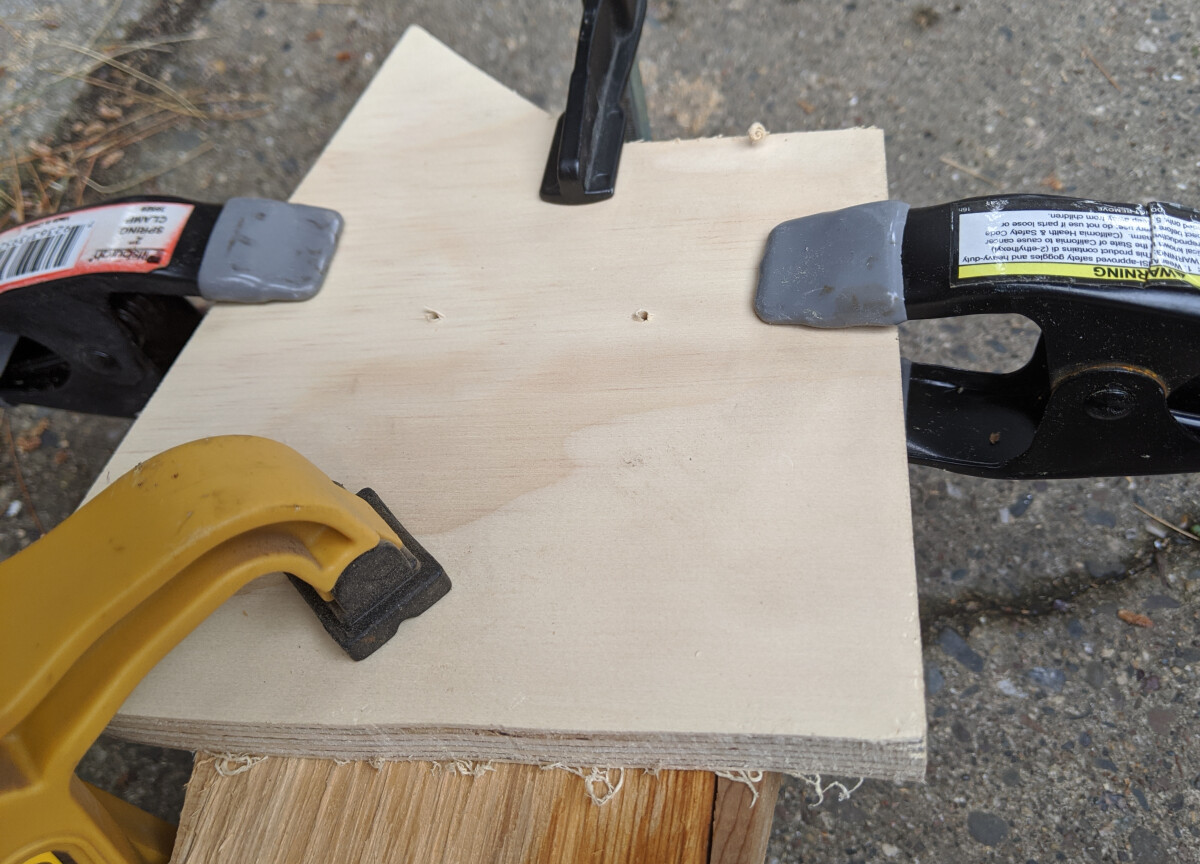
I also pieced together a little ad-hoc jig to drill pilot holes for the screws, so they would be consistent on all the planks. This isn’t really necessary, but it assuages my desire for uniformity.
-
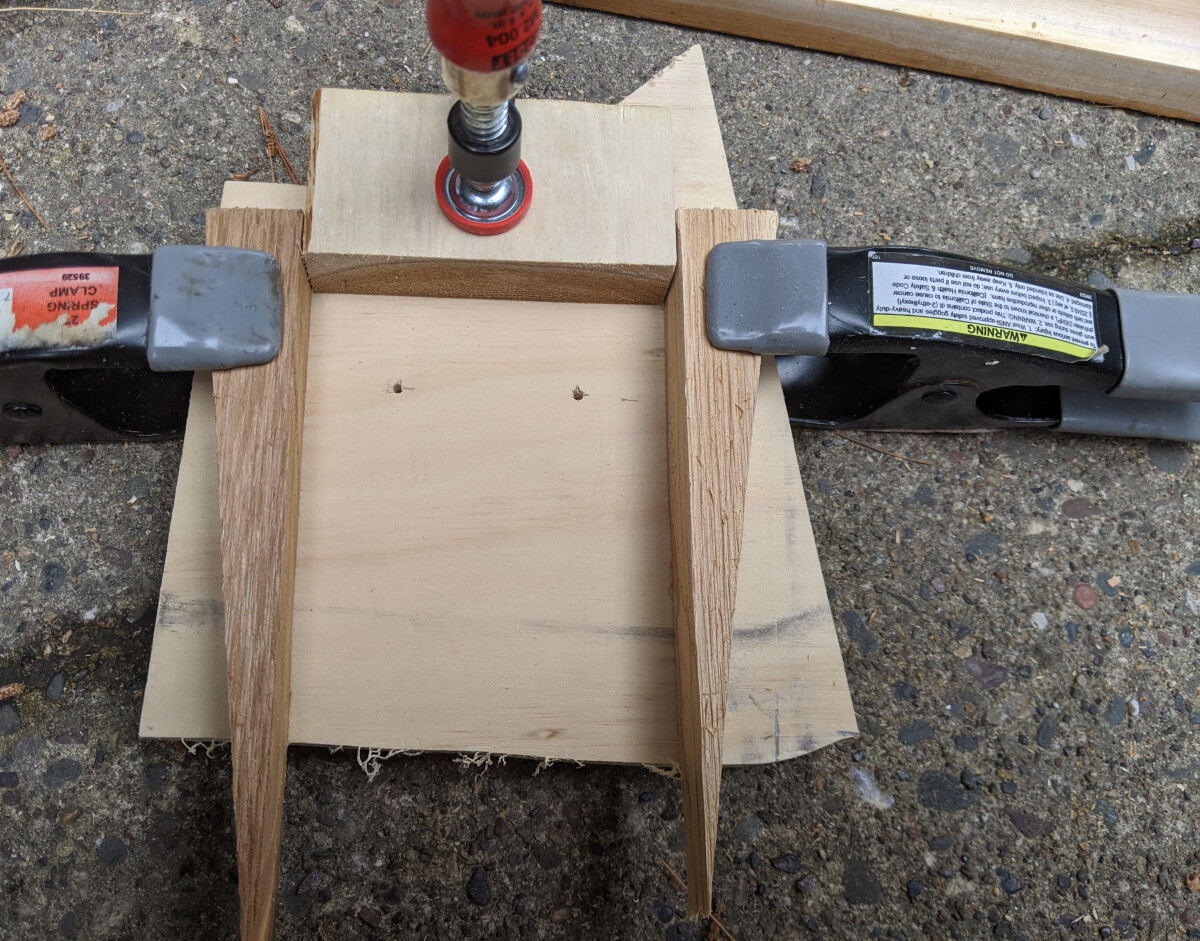
The pilot hole spacing jig made from scrap wood and a scrap of plywood.
-
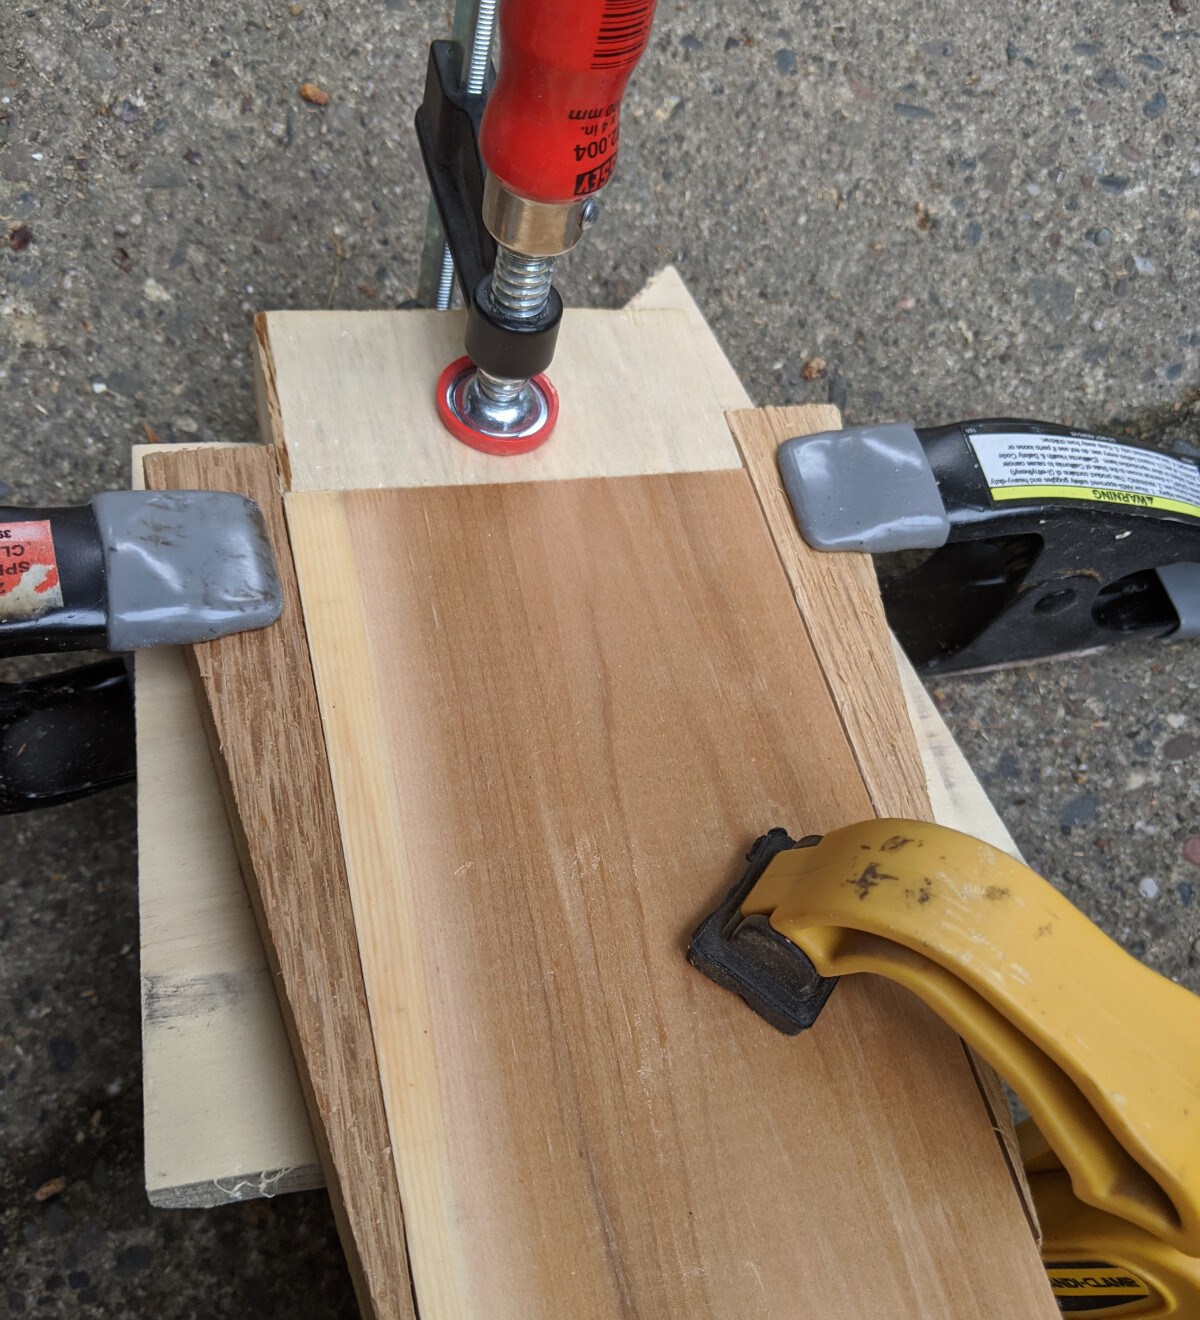
The end of the plank is clamped in, and then…
-
…you flip it over and drill through the guide holes to make pilot holes in the plank.
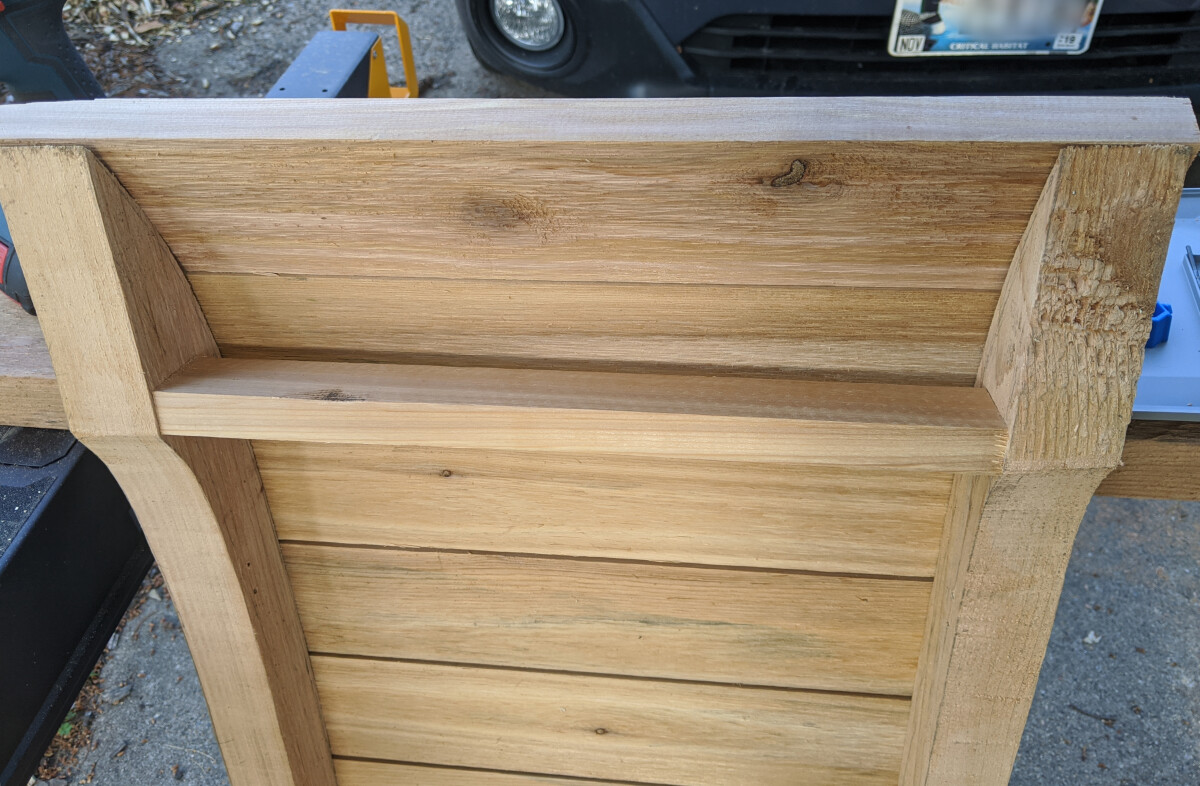
Once the planks were ready, I did a sort of dry fit by laying them out on the beams to check the spacing. I got lucky and the width of the planks with a small gap in between worked out to cover the span fully without a fractional piece. With the spacing roughed out, I started screwing them in, checking periodically as I went to make sure it was still on track to line up at the end.

Dry fitting the planks before screwing them in.
I made a simple jig for this part too—really just a piece of scrap with a cutout piece to help me quickly align each plank with consistent overhang at the sides of the beams. Since my screw holes were all at a consistent spacing, this meant that the screws would always be hitting the center of the beam. It’s a little thing, but it helped me move a lot faster since I didn’t have to visually inspect the alignment of each plank, and helped me hold the piece tight as I screwed it in.
-
The extremely simple overhang jig.
-

The thicker part sits against the beam while the plank fits into the cutout, giving a good consistent 1/8″ or so of overhang.
Finally, I added some “spreaders” along the bottom to give the bridges a little more strength and rigidity.
I don’t know if these were necessary, but they didn’t hurt. These were cut from lumber originally slated for the laminated beams. I had just acquired a pocket hole jig and was eager to try it out, so I attached these with pocket screws, which worked great.
With that, I was done! To finish them, I added a couple coats of Thompson’s Waterseal, mostly just because the previous homeowners had left behind most of a jug.
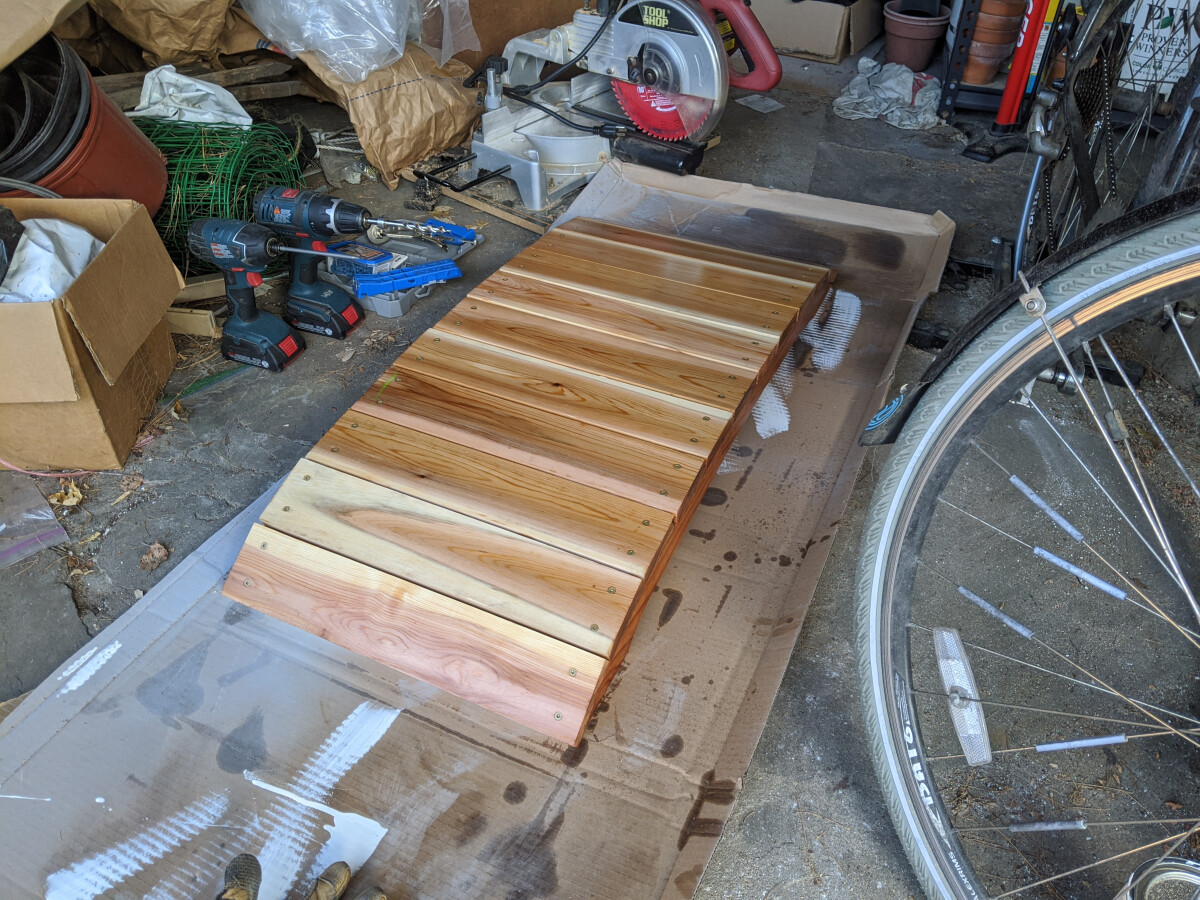
I got a lot of mileage out of that cardboard "drop cloth".
The stuff gets pretty poor reviews online, and it didn’t put up a very impressive showing here: it had entirely worn off in under twelve months (and remember that these bridges get only light use and are in shade for more than half the year). I’m debating whether or not to periodically recoat them. The cedar should hold up for many years with or without treatment, but I do still have a lot of Waterseal left, and it’s ineffective enough that I probably won’t use it on other things.
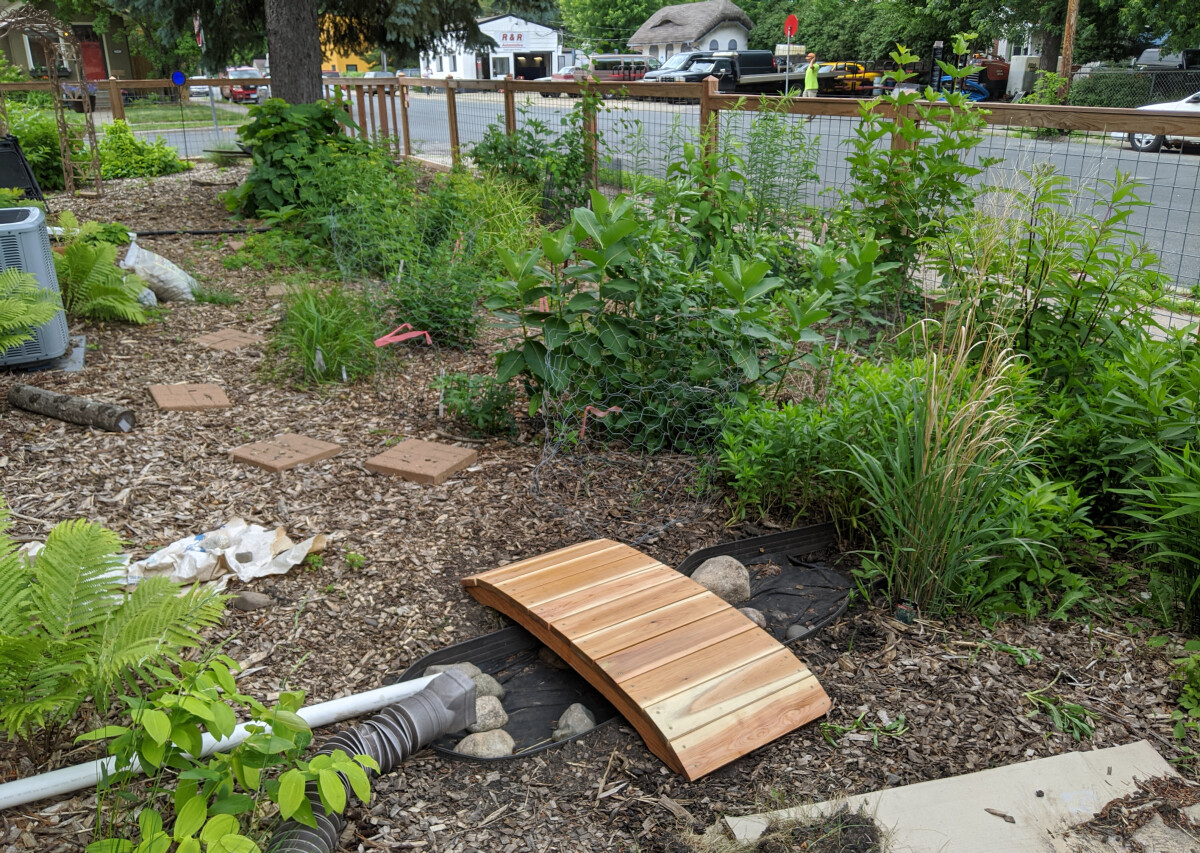
The new bridge with channel reconstruction in progress. The sealer doesn't hold up well, but it does give a nice finish when it's freshly applied!
With the benefit of hindsight, I’d make the angles of the entry and exit just a little shallower to make it easier to roll a wheelbarrow across them. It’s possible to get a wheelbarrow over them as they currently exist, but you have to be a little careful about the angles. Luckily I’m not crossing with a wheelbarrow very often, so in practice this is a very minor issue.
-
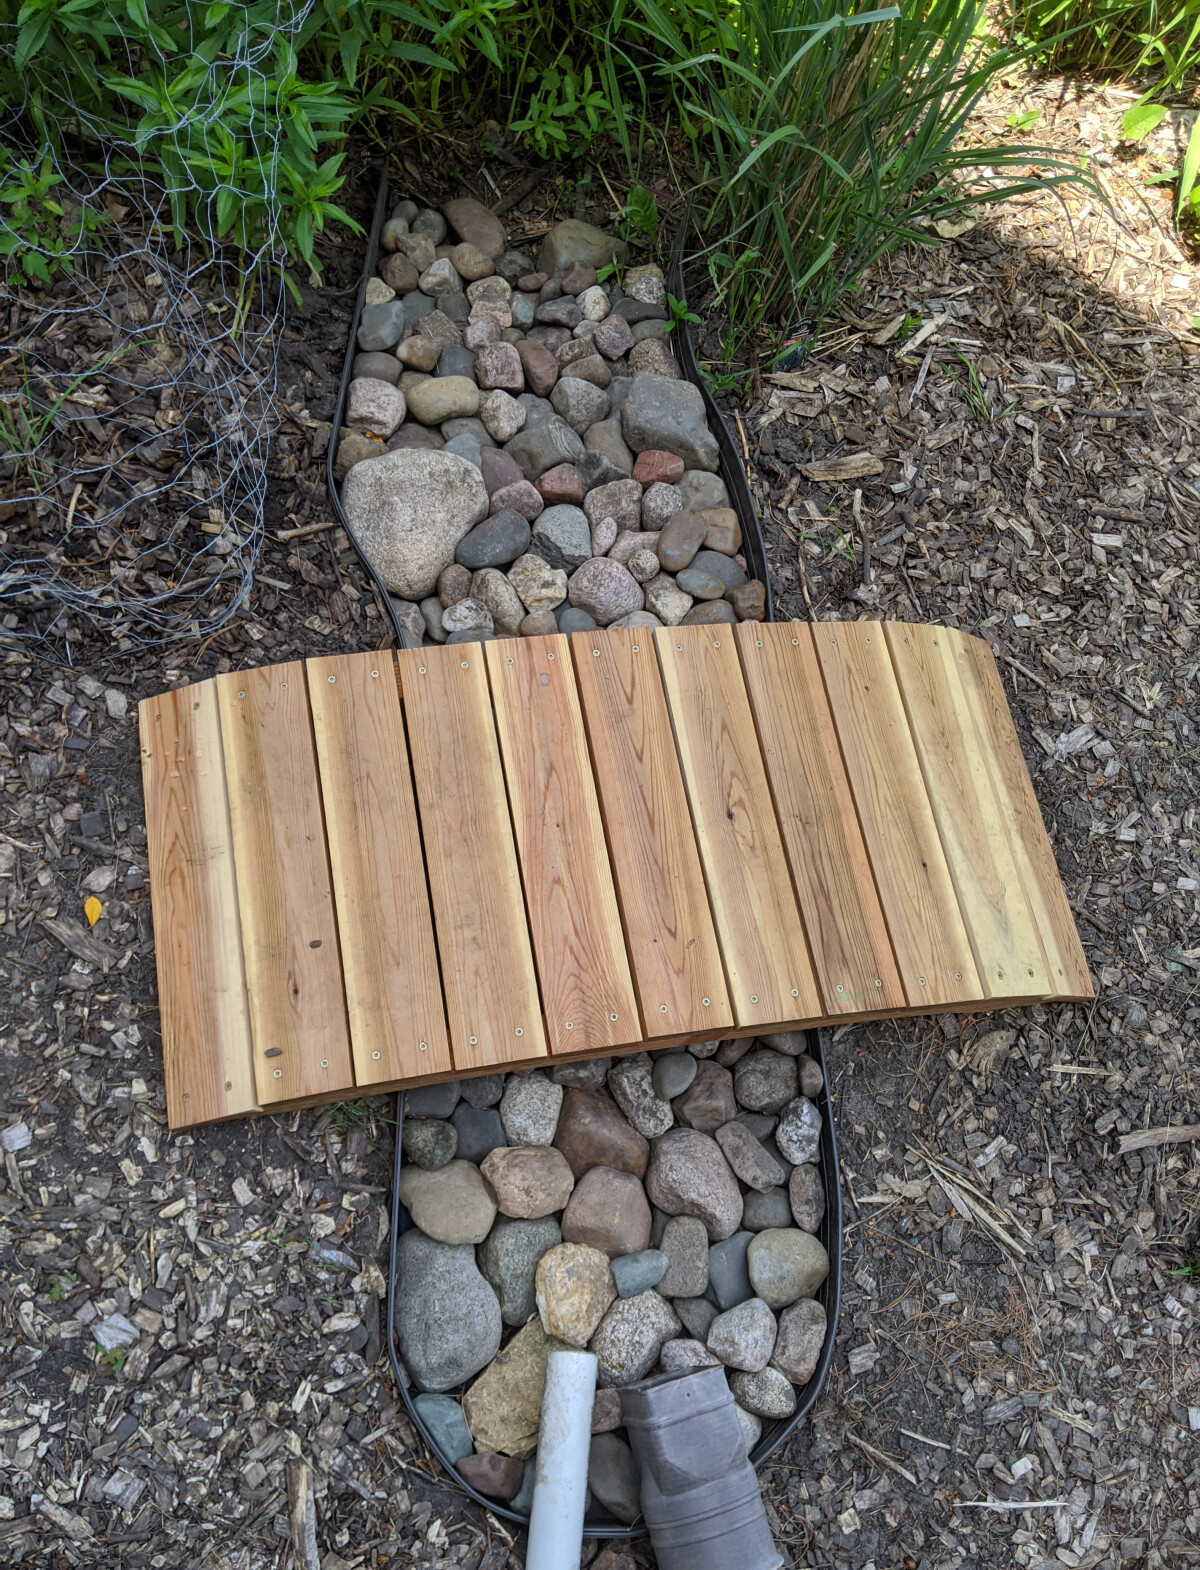
Finished bridge and channel.
-
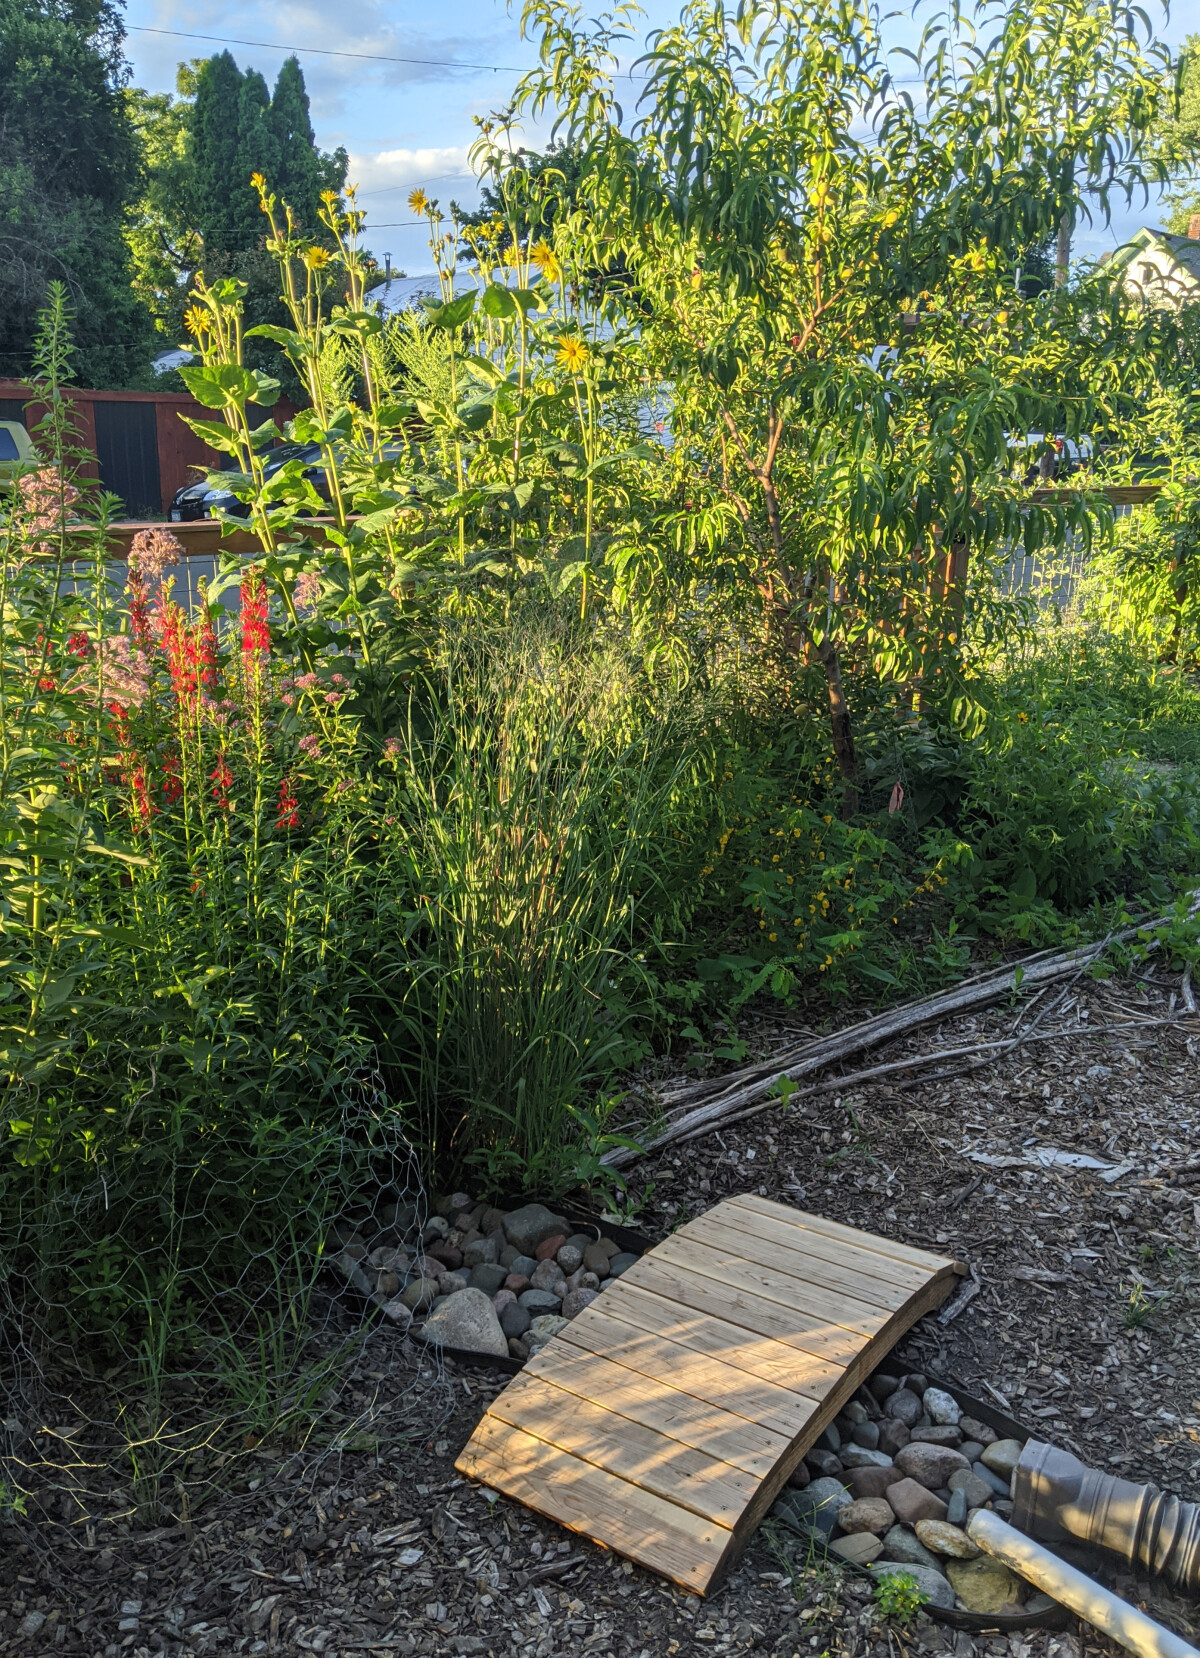
Complementing some August foliage.
-
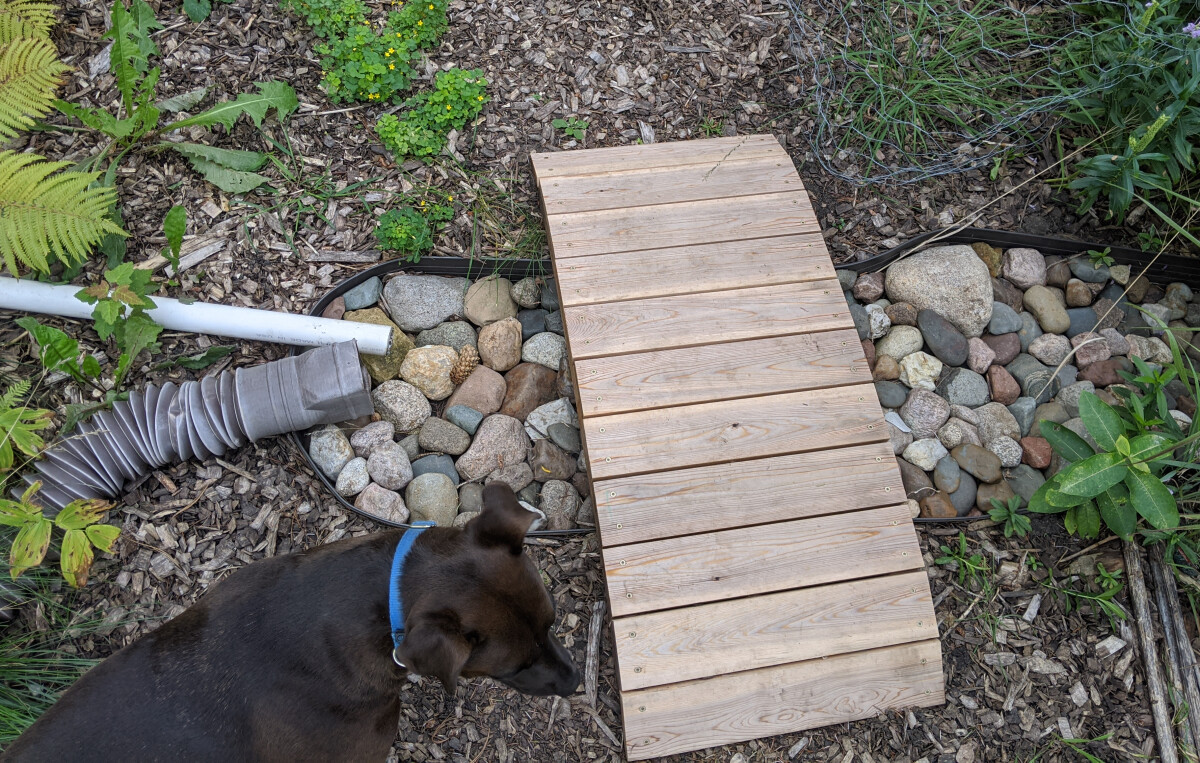
Dog inspection after one summer of use. You can see that the sealer is mostly gone, but look how clear of debris that channel is!
Overall, I love the way these turned out. They are sturdy and super cute! They feel very much a part of the landscape, and enhance the garden path without distracting from the rest of the garden. They also function very well, doing the job I wanted them to do of protecting the channel edging and keeping debris out of the channel.
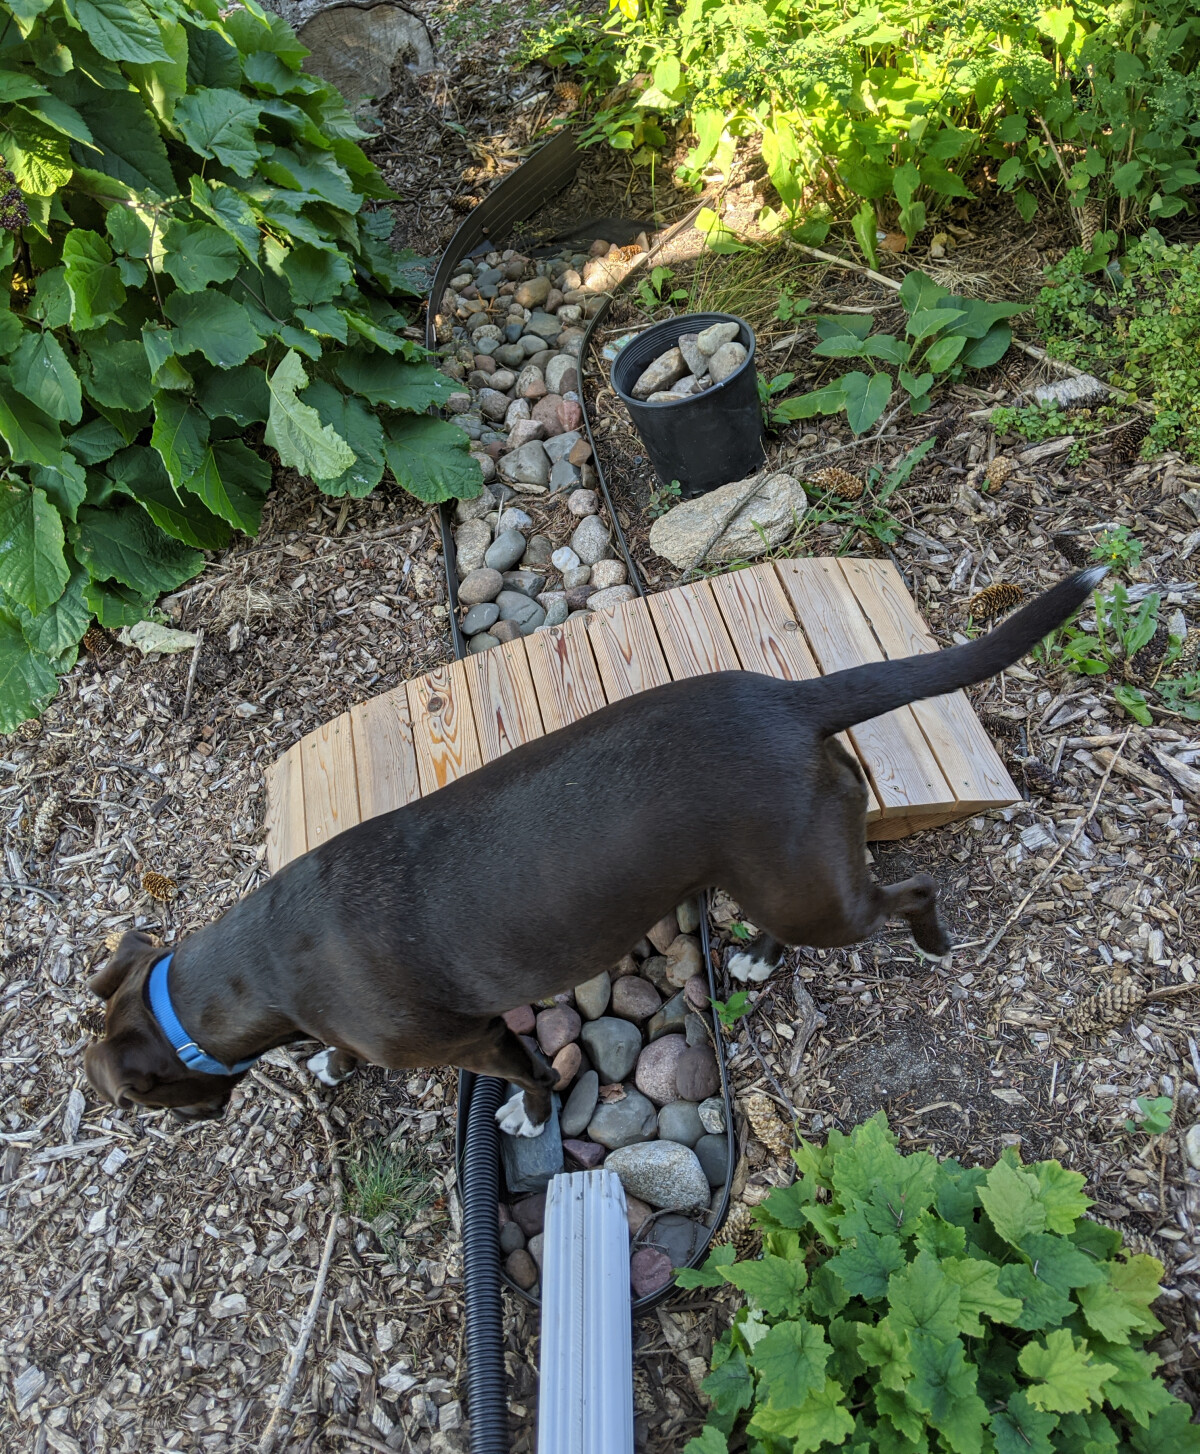
However, certain members of the family still refuse to actually use the bridges.
Time & Materials
| Failed lamination attempt | ~1 hours | |
| Cutting pieces | ~2.5 hours | |
| Assembly | ~1.5 hours | |
| Total | ~5 hours | |
| Cedar 2x12 (discounted) | $27 | |
| Cedar 1x2-12’ (mostly unused) | 2@$3.89 | $8 |
| Cedar 1x4-12’ | 3@$10.32 | $31 |
| 1¼″ exterior wood screws | on hand | |
| Exterior pocket screws | on hand | |
| Thompson’s Waterseal | on hand | |
| Total | $66 | |